Nonna’s Homemade Risotto Recipe

Nonna’s homemade risotto was always a favourite meal of mine, so I definitely wanted to make sure I knew how to make it too. And now I do, so I can pass on this knowledge to you.

Risotto can be made with store-bought chicken broth, which will drastically cut down the prep time, but that’s not the authentic Italian way, so the below recipe does include steps to make a simple and delicious broth. Though it’s not hard, it does take time.
For a serving of 6, you’ll need the following:

  • 2 defrosted chicken legs
  • a healthy pinch of salt
  • 2 carrots
  • 2 stalks of celery
  • 1 medium onion
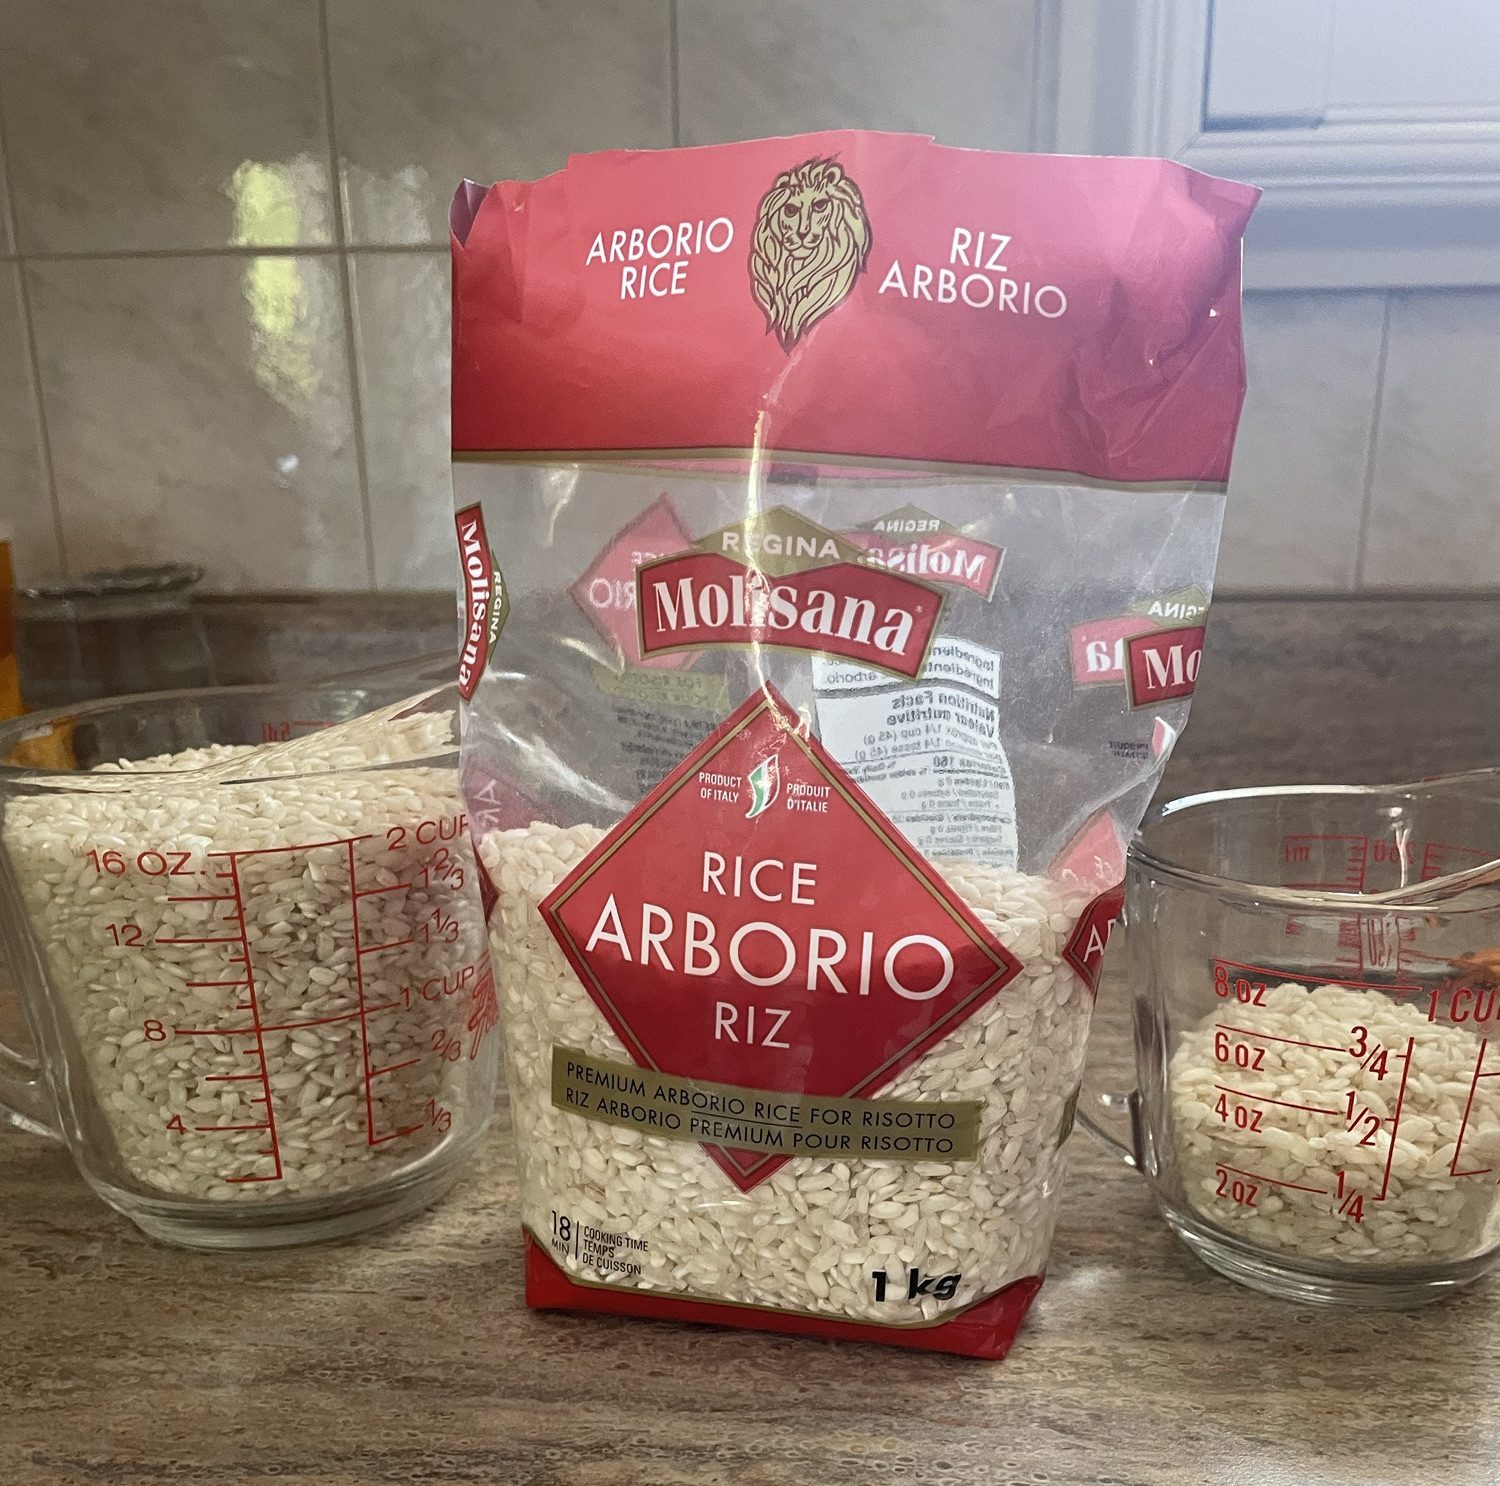
  • 2.5 cups of Arborio rice
  • 12 teaspoons of ground parmesan cheese (about 2 per person)
  • 1 stick of butter (or half if you want to be slightly healthier)

Making the chicken broth:
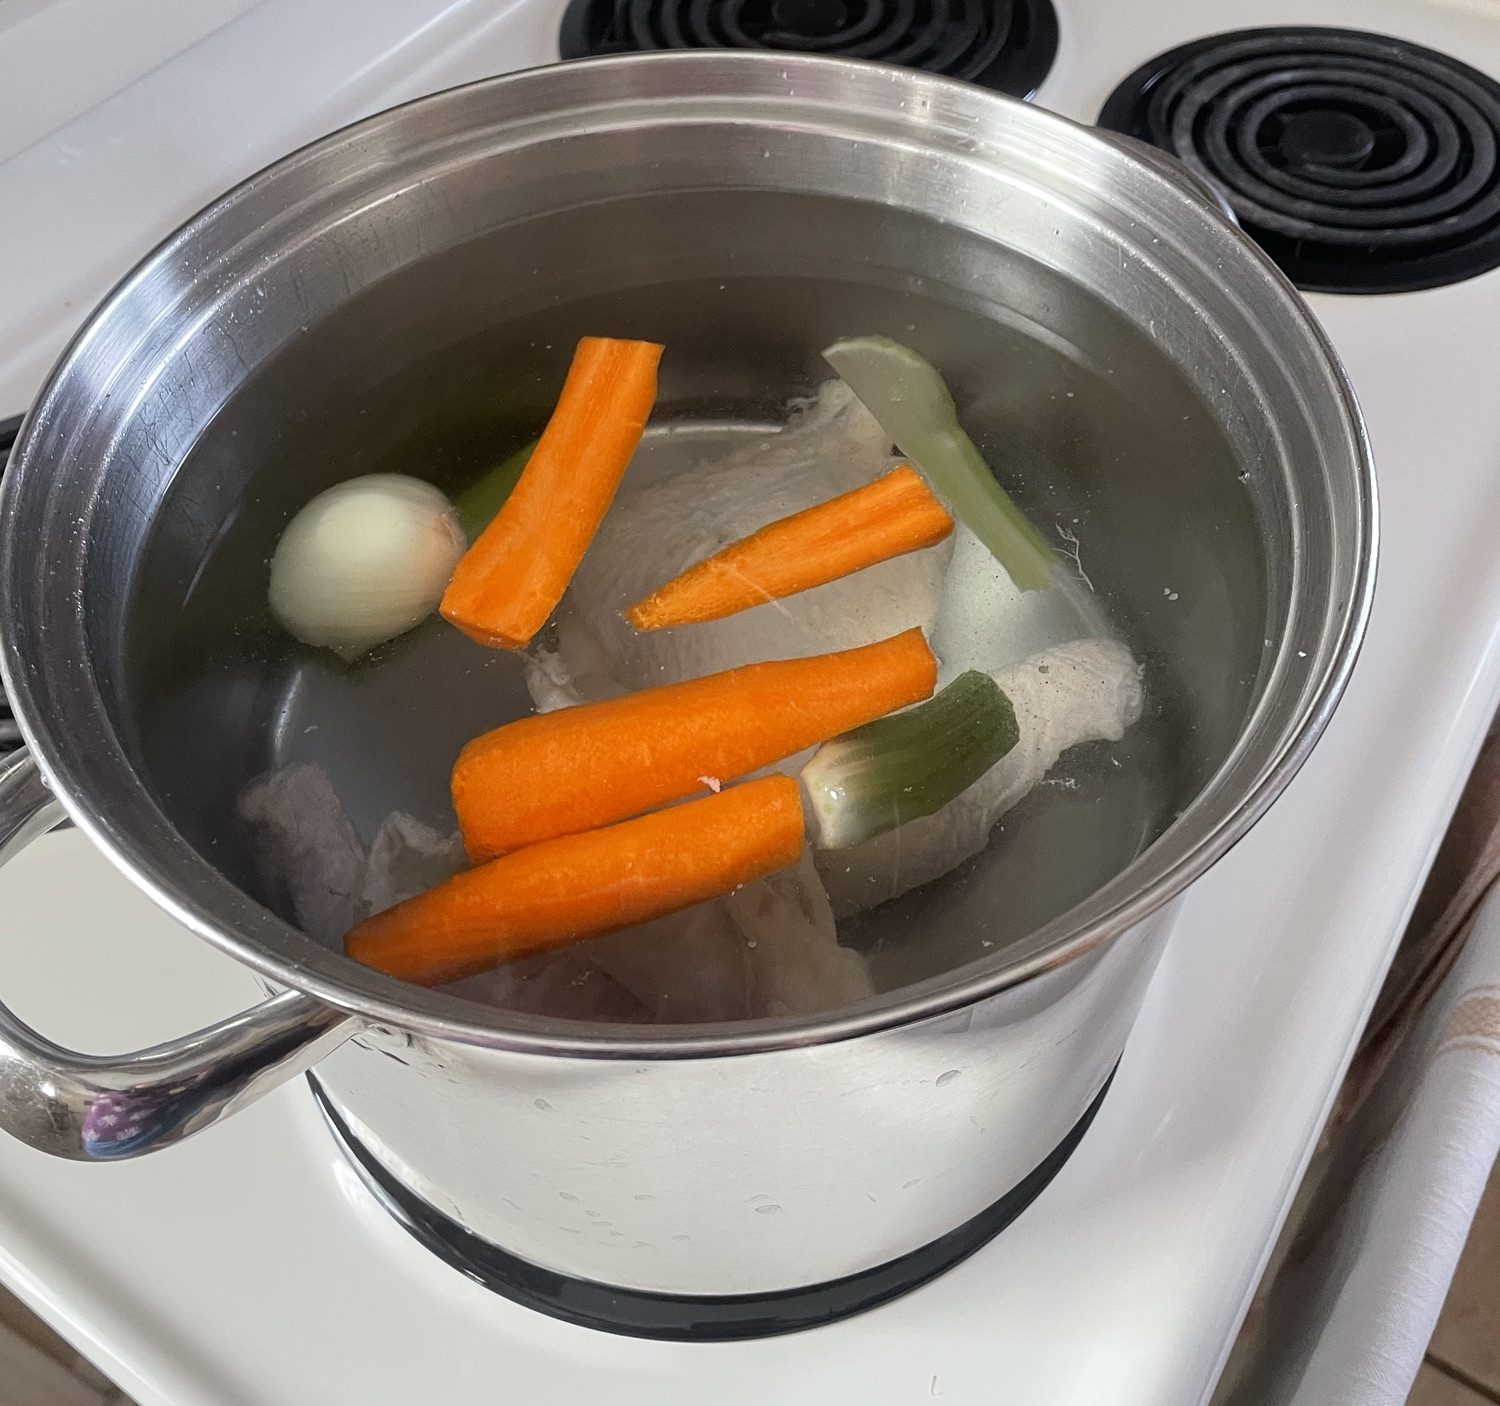
We started at 9 am. In the largest pot you have, put in the chicken legs, salt, 3/4 of the onion, the carrots, and the celery. Fill the pot with water and boil on high.

Eventually, there’ll be a white bubbly film gathering on the top of the broth. Use a fine sieve to scoop out as much as you can.
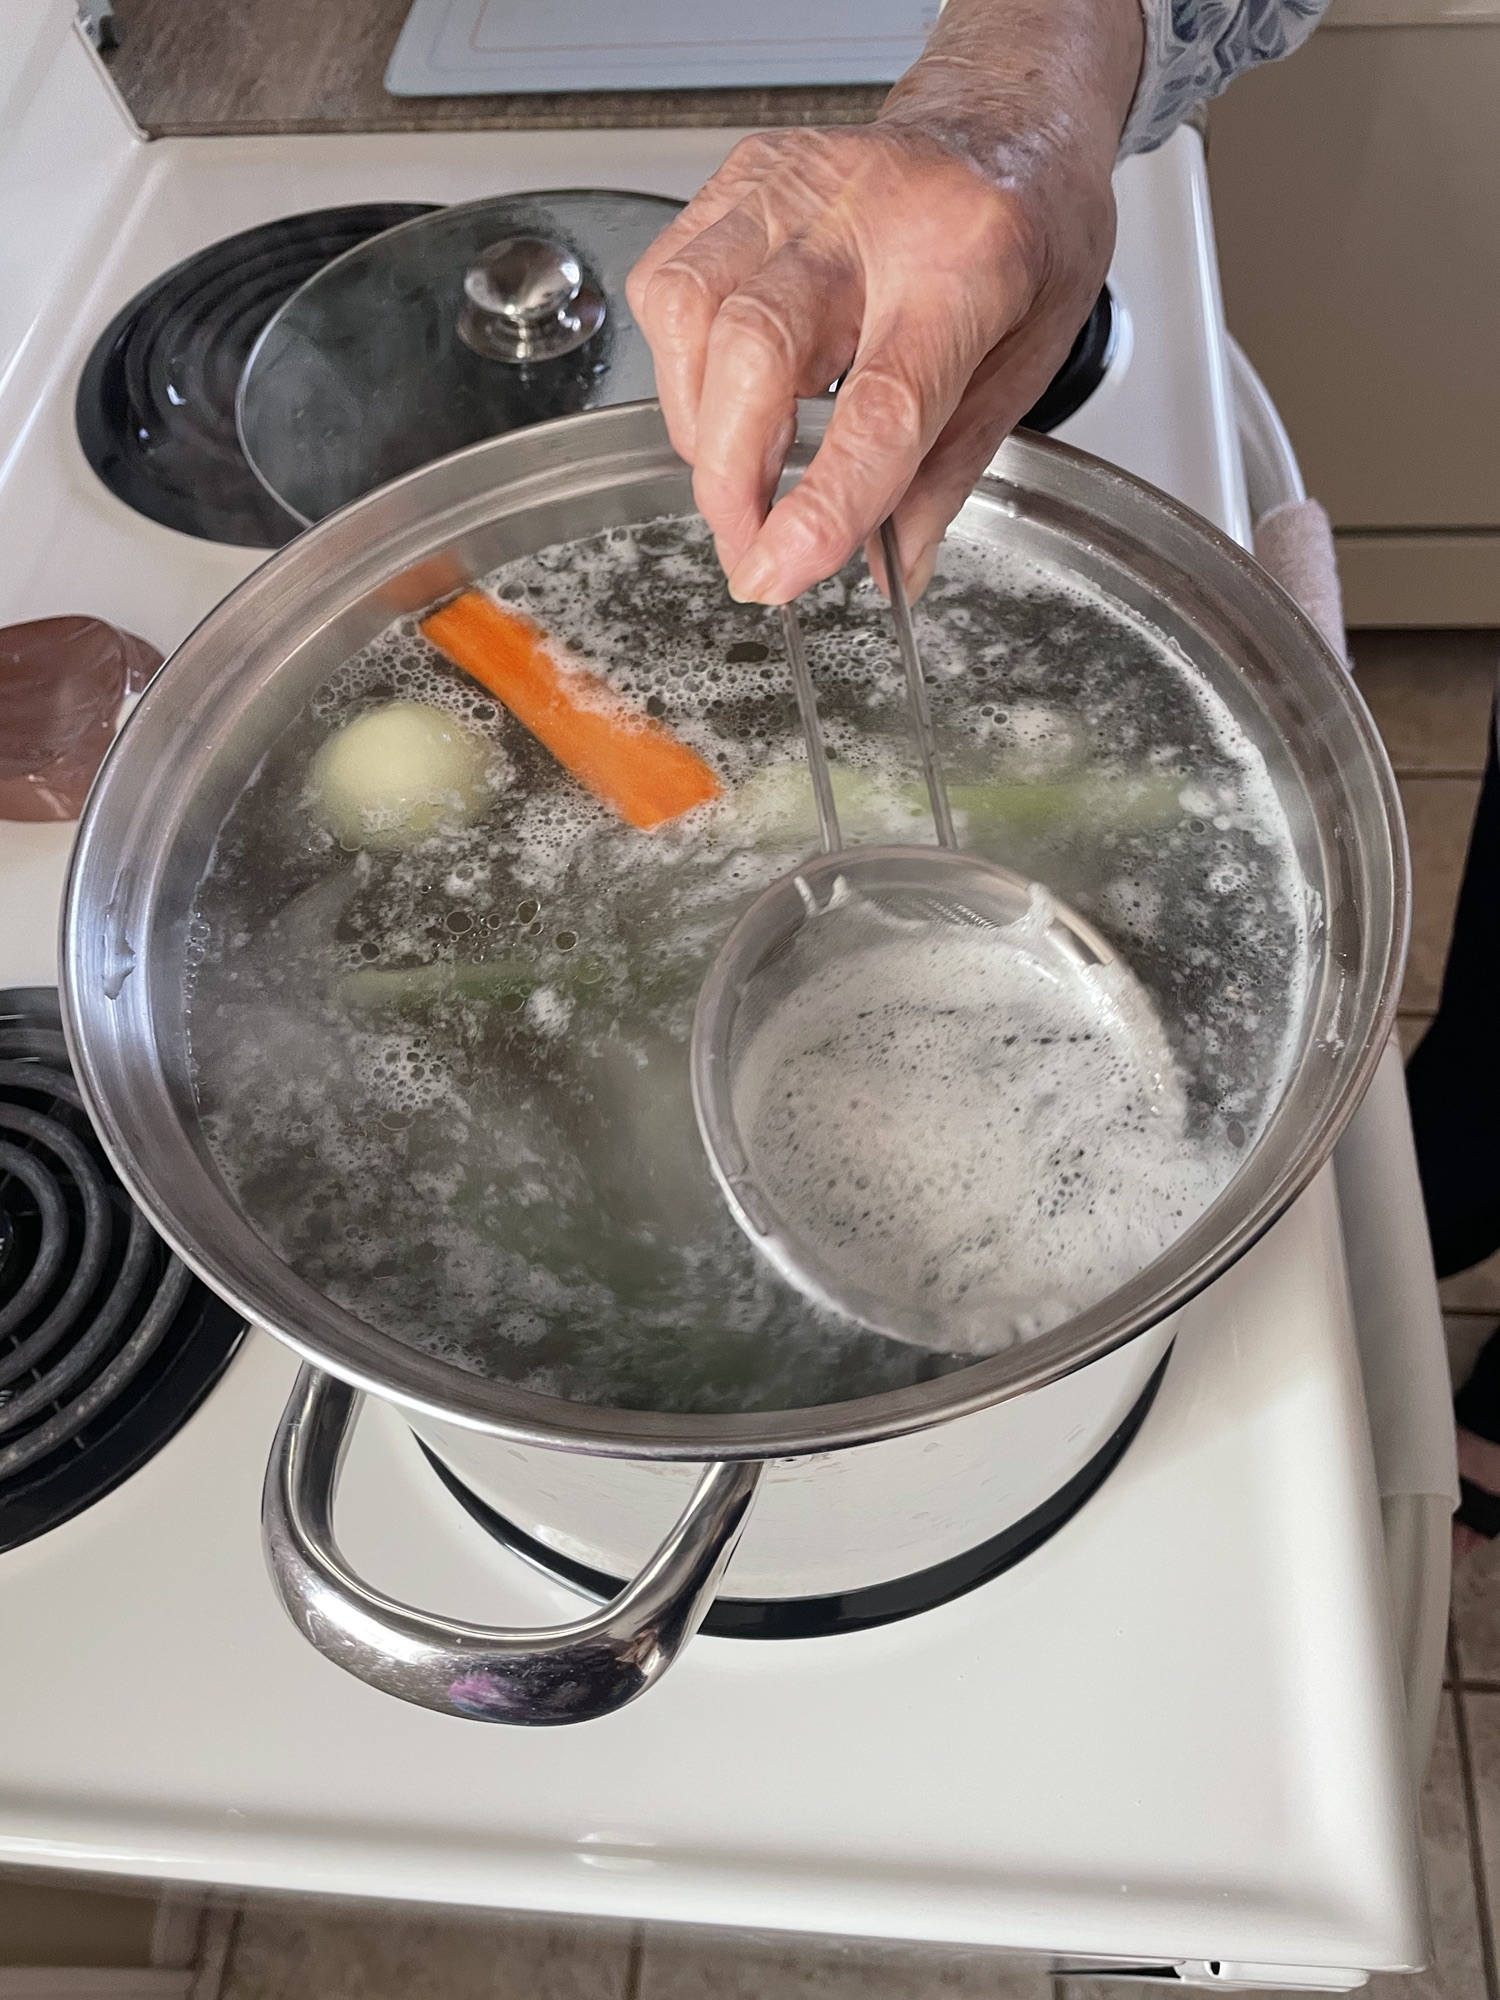
Once you’re done, turn the heat down a bit, and offset the lid. Let it continue to lightly boil for five hours. After that, the broth will be basically done. Once again, there’ll be some film at the top. Strain it and the veggies and chicken out by ladling the broth through the sieve again into another pot. Then you can have it simmer on low until dinner. As for the boiled chicken, that’s now yours to do with as you please.
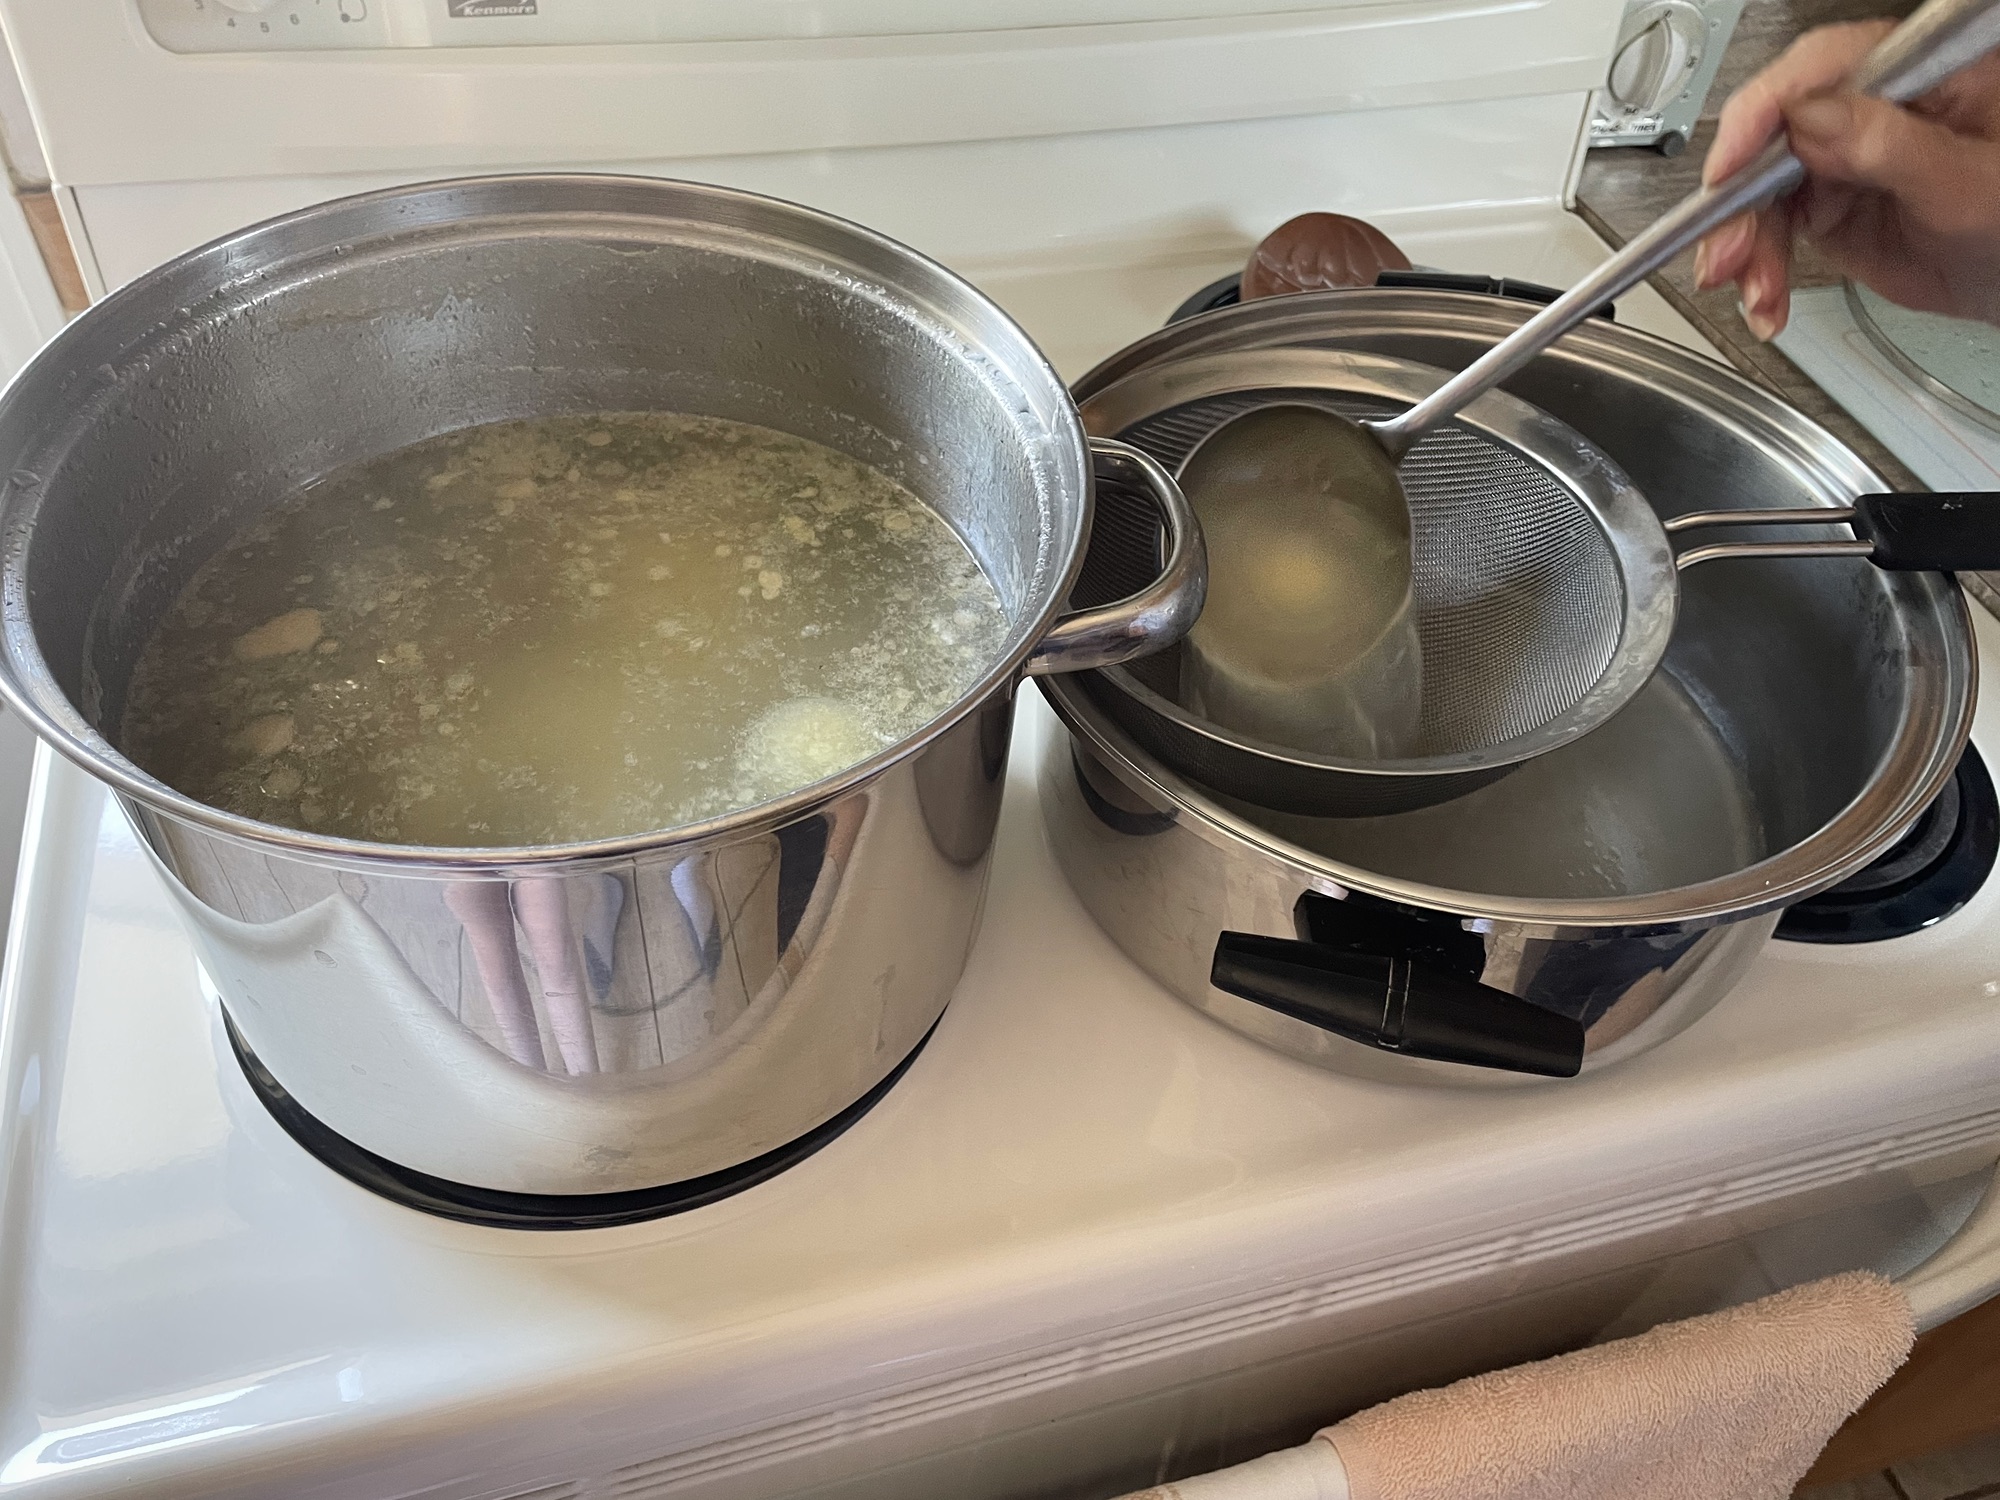
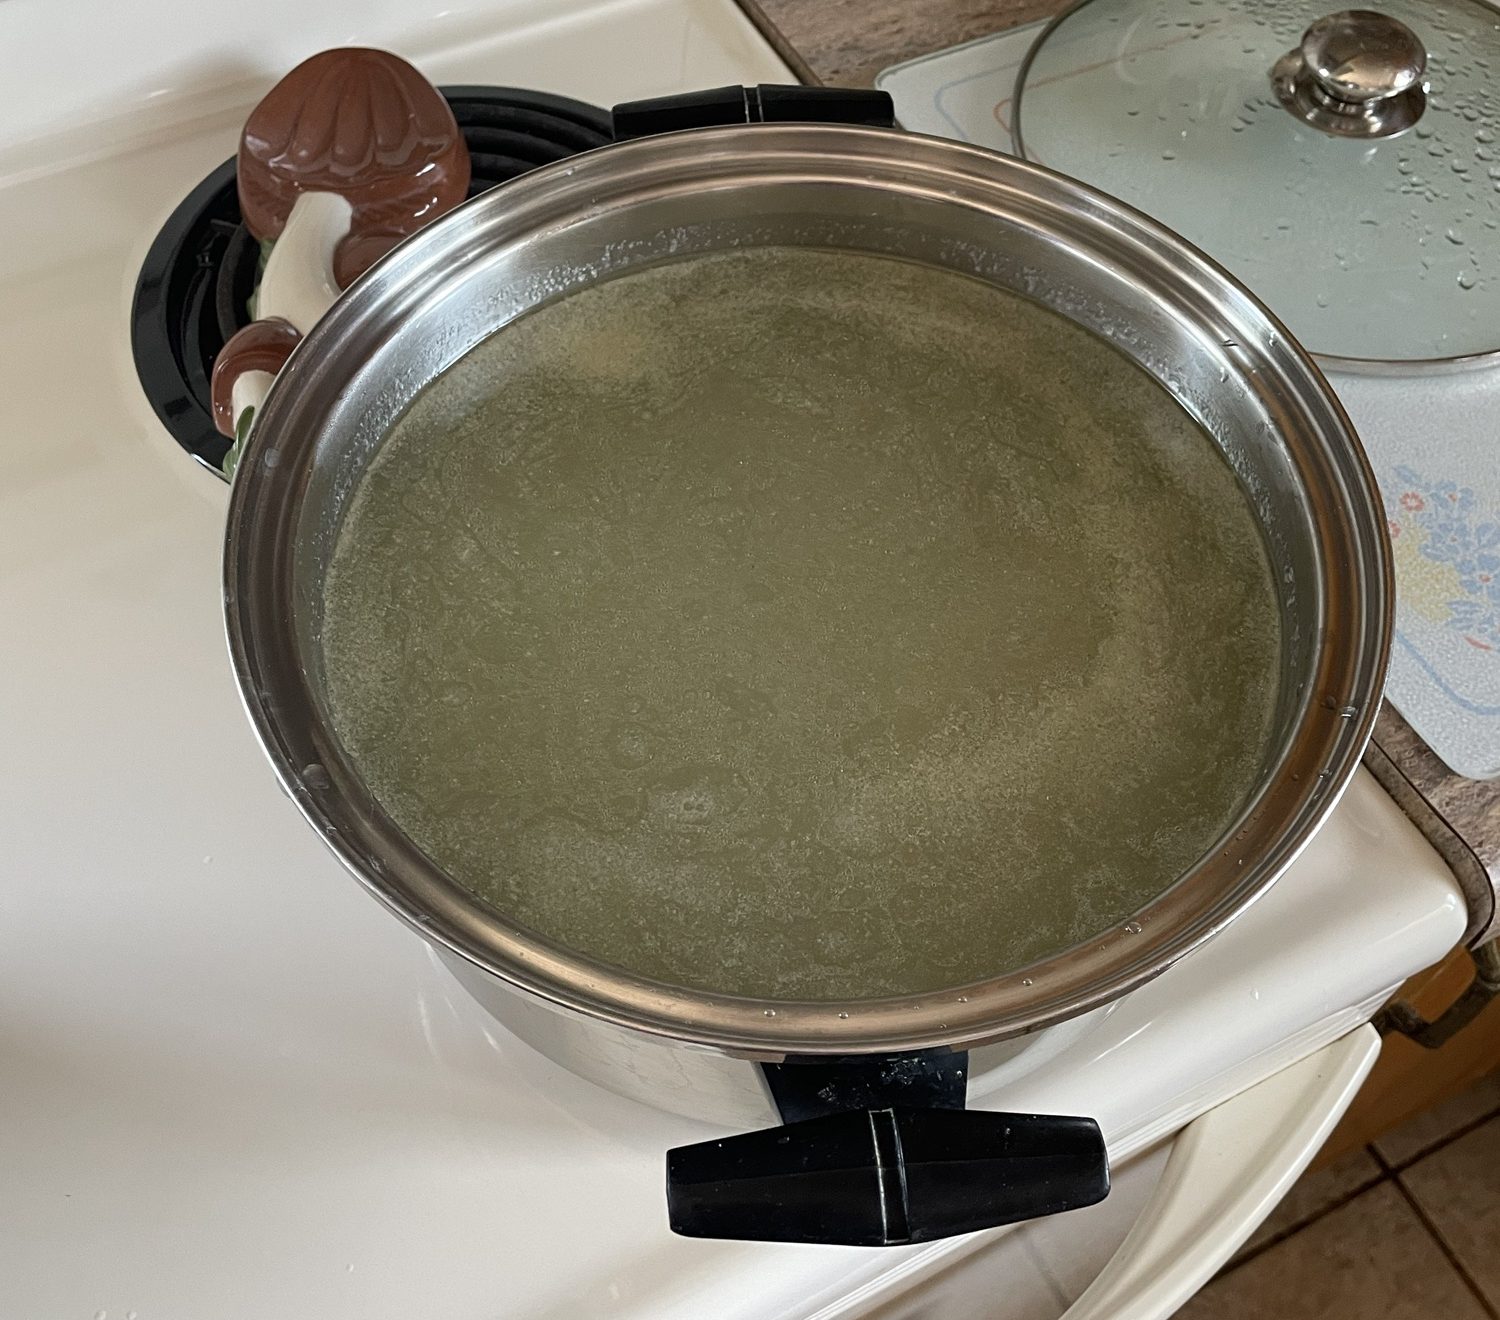
Making the risotto:

For six people, we used 2.5 cups of Arborio rice. Nonna is partial to the Molisana brand, but you do you. We also set aside a bowl of grated parmesan cheese, about 2 teaspoons per person.
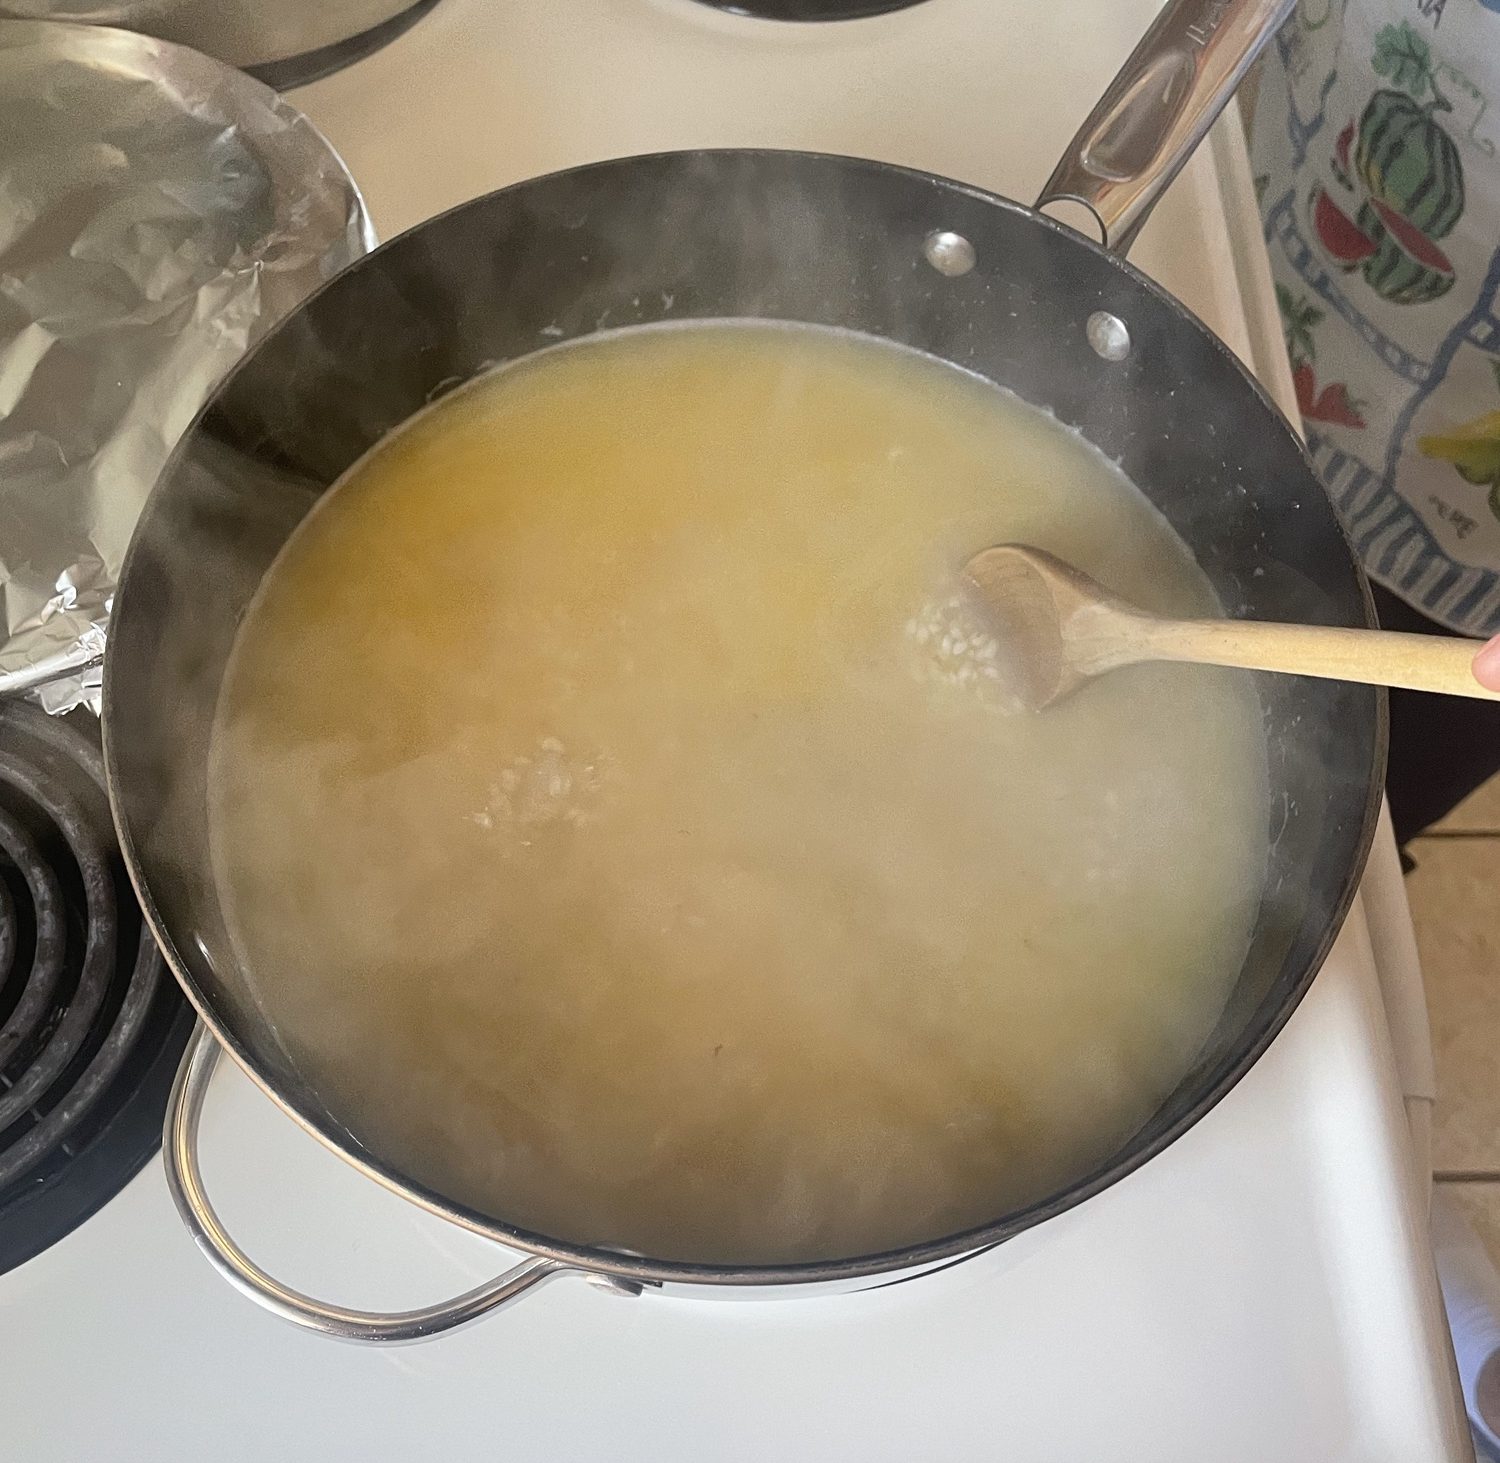
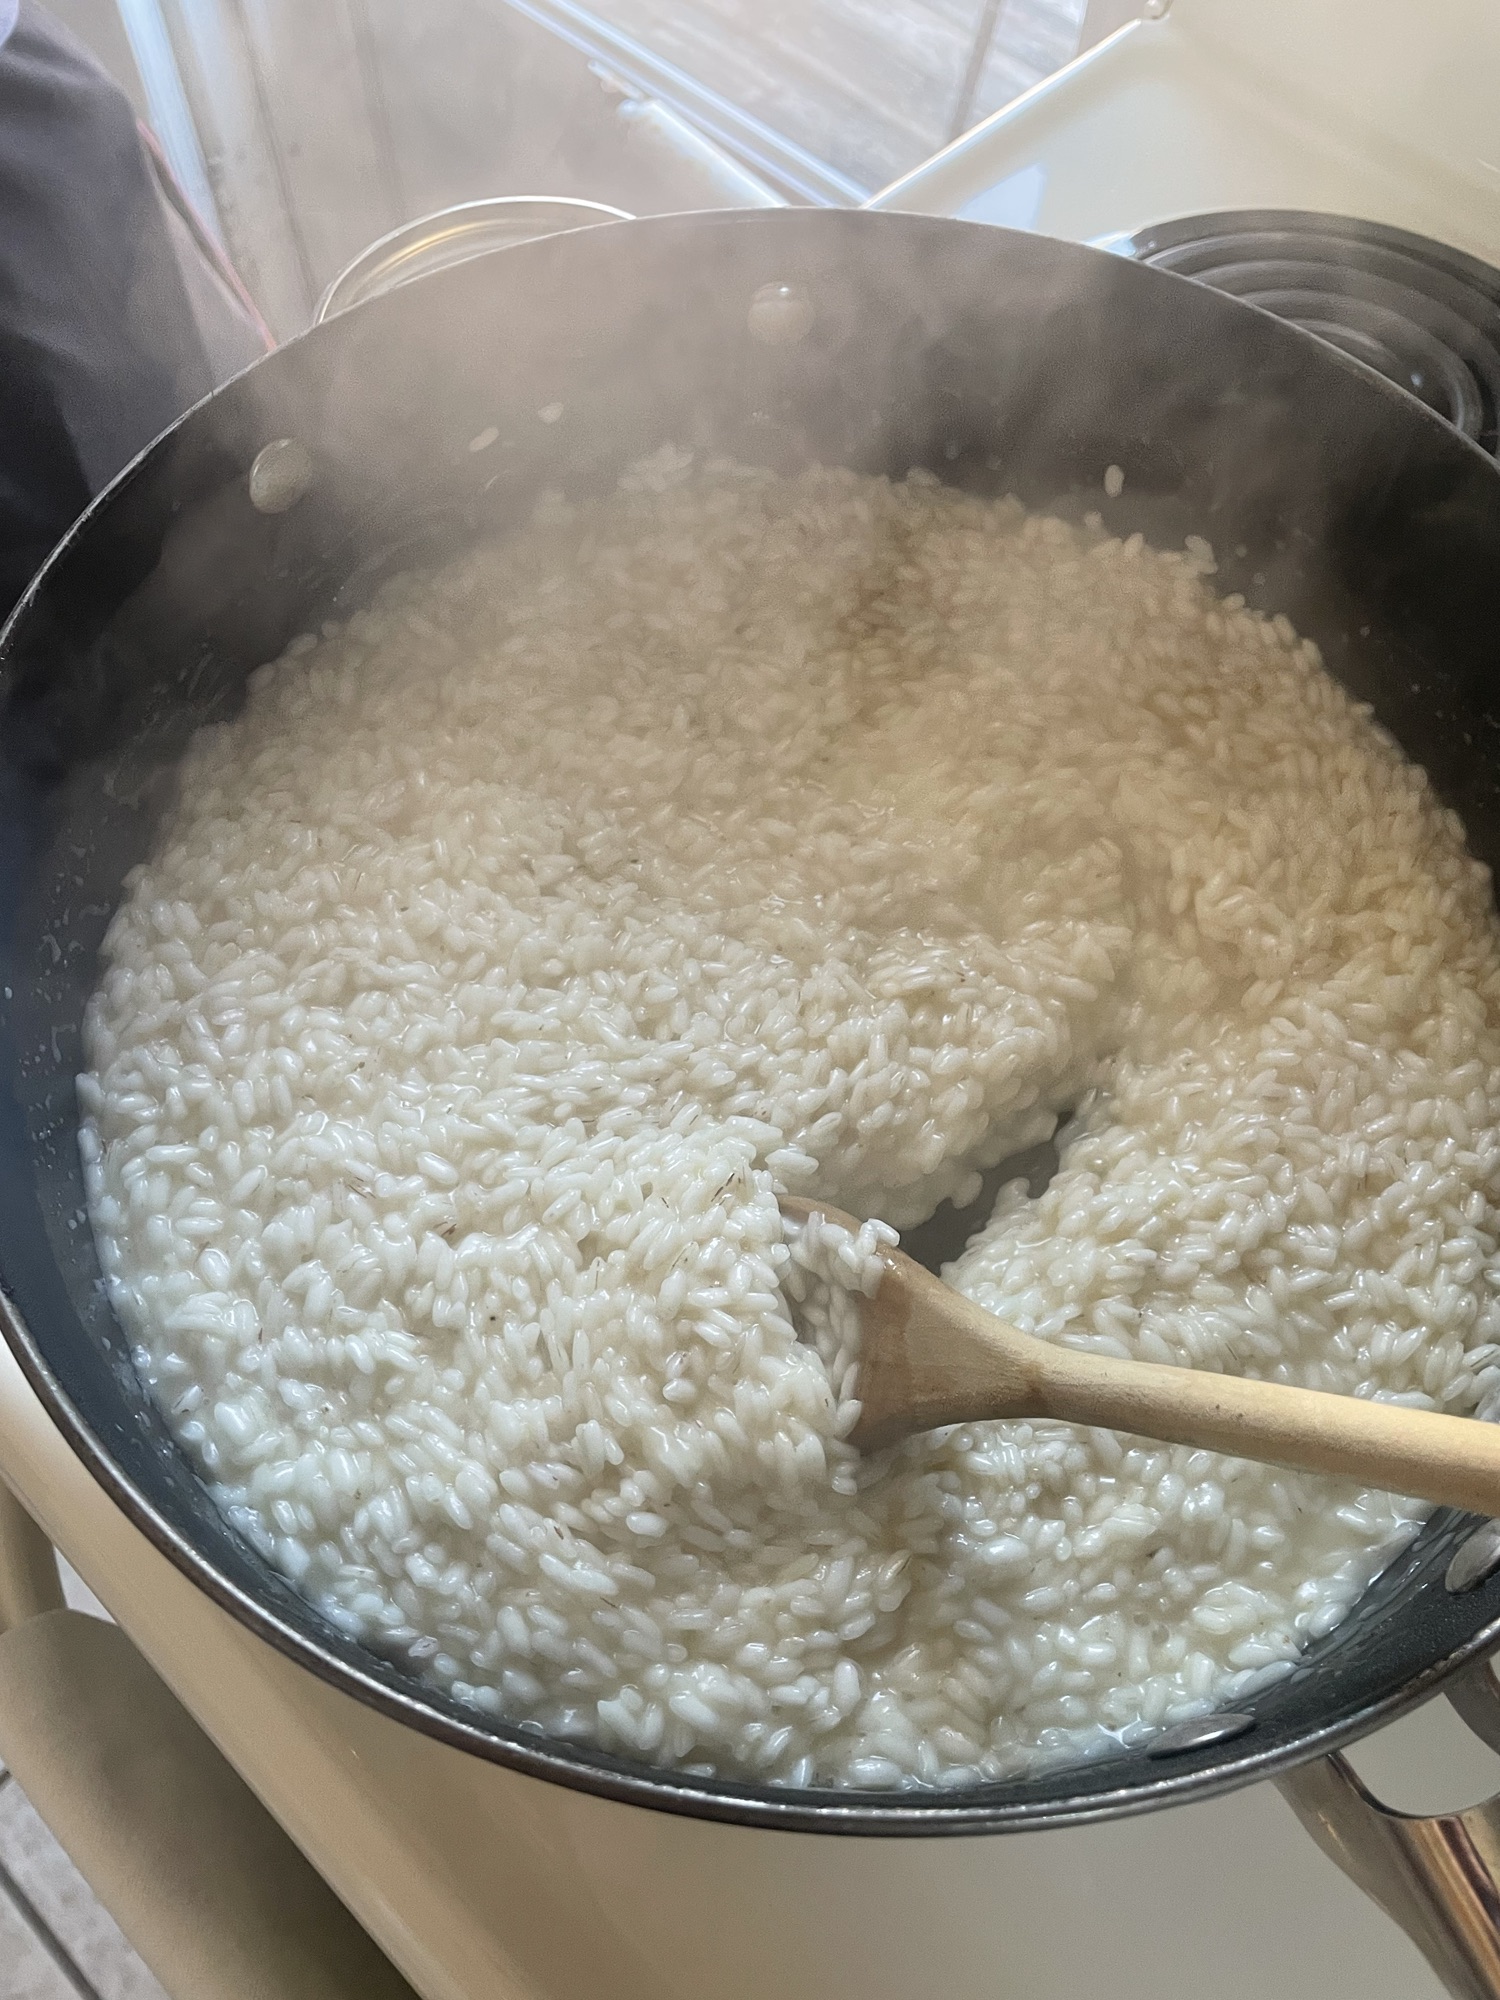
In a large pan, melt the butter and saute the other 1/4 onion. When the butter is fully melted, remove the onion and add the rice. Stir that around for a bit, and then start ladling in broth. Start with about 7-8 ladle-fulls. Stir constantly as the rice absorbs the broth.
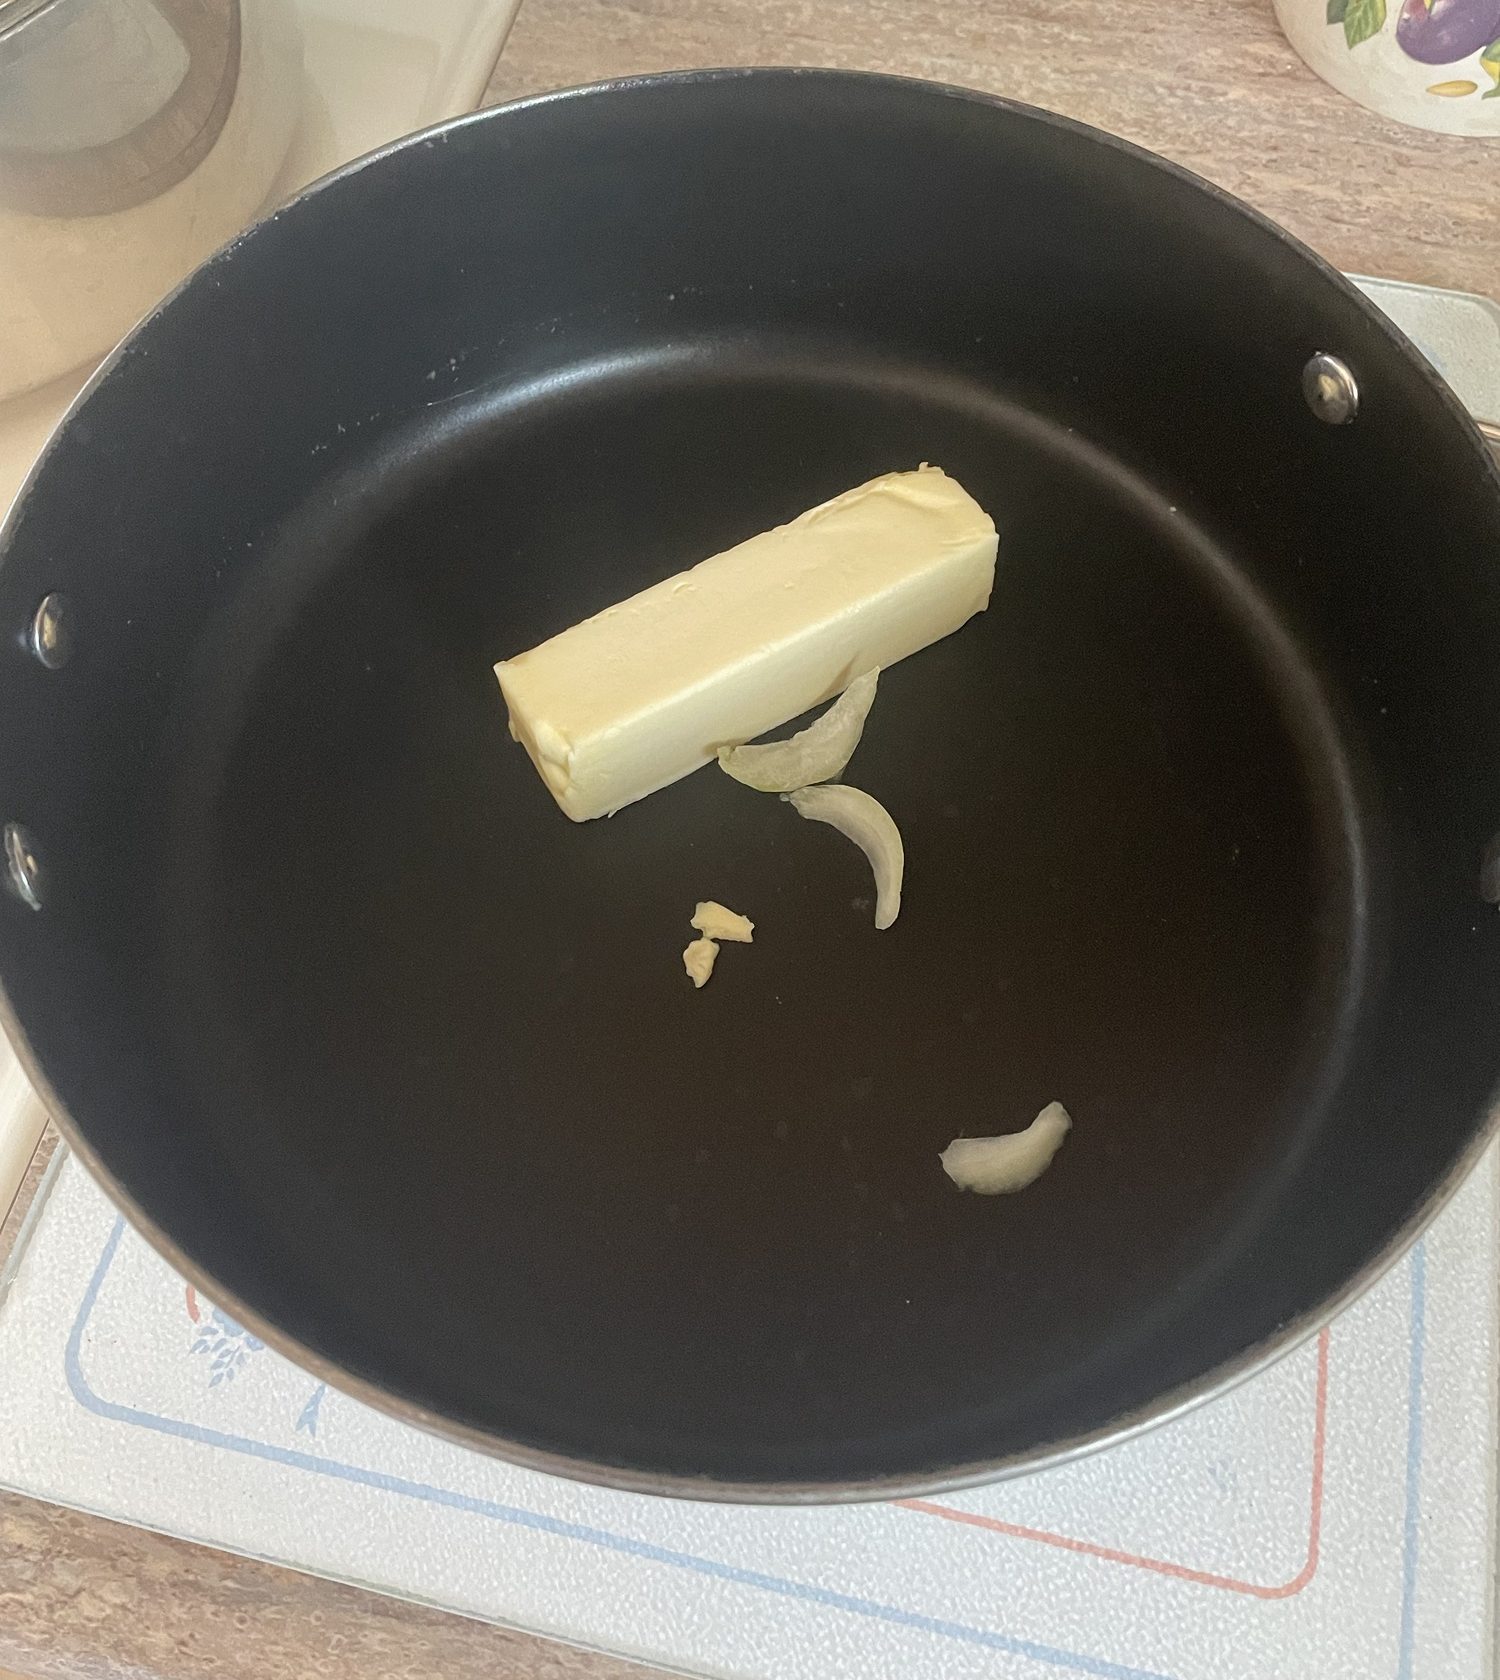
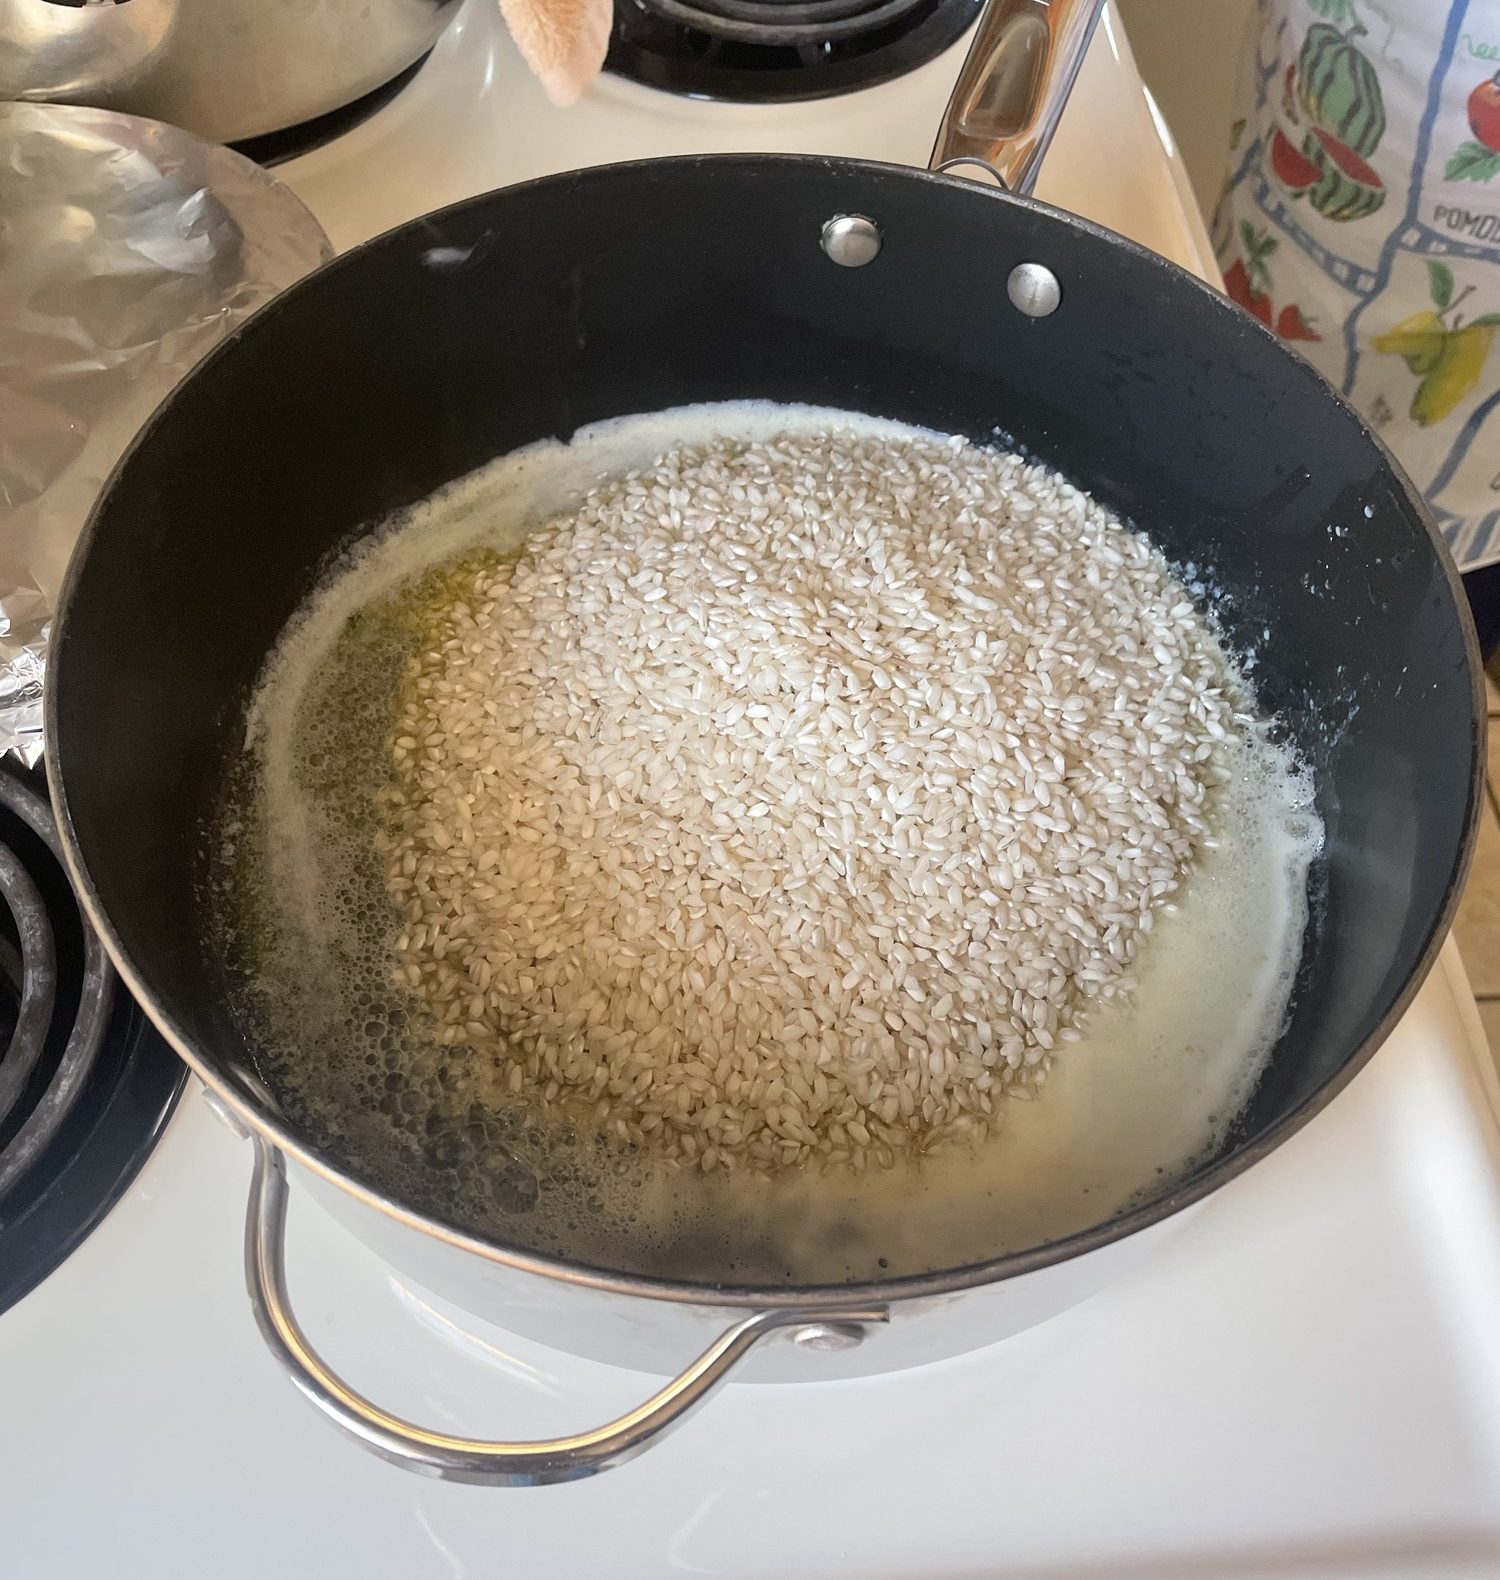
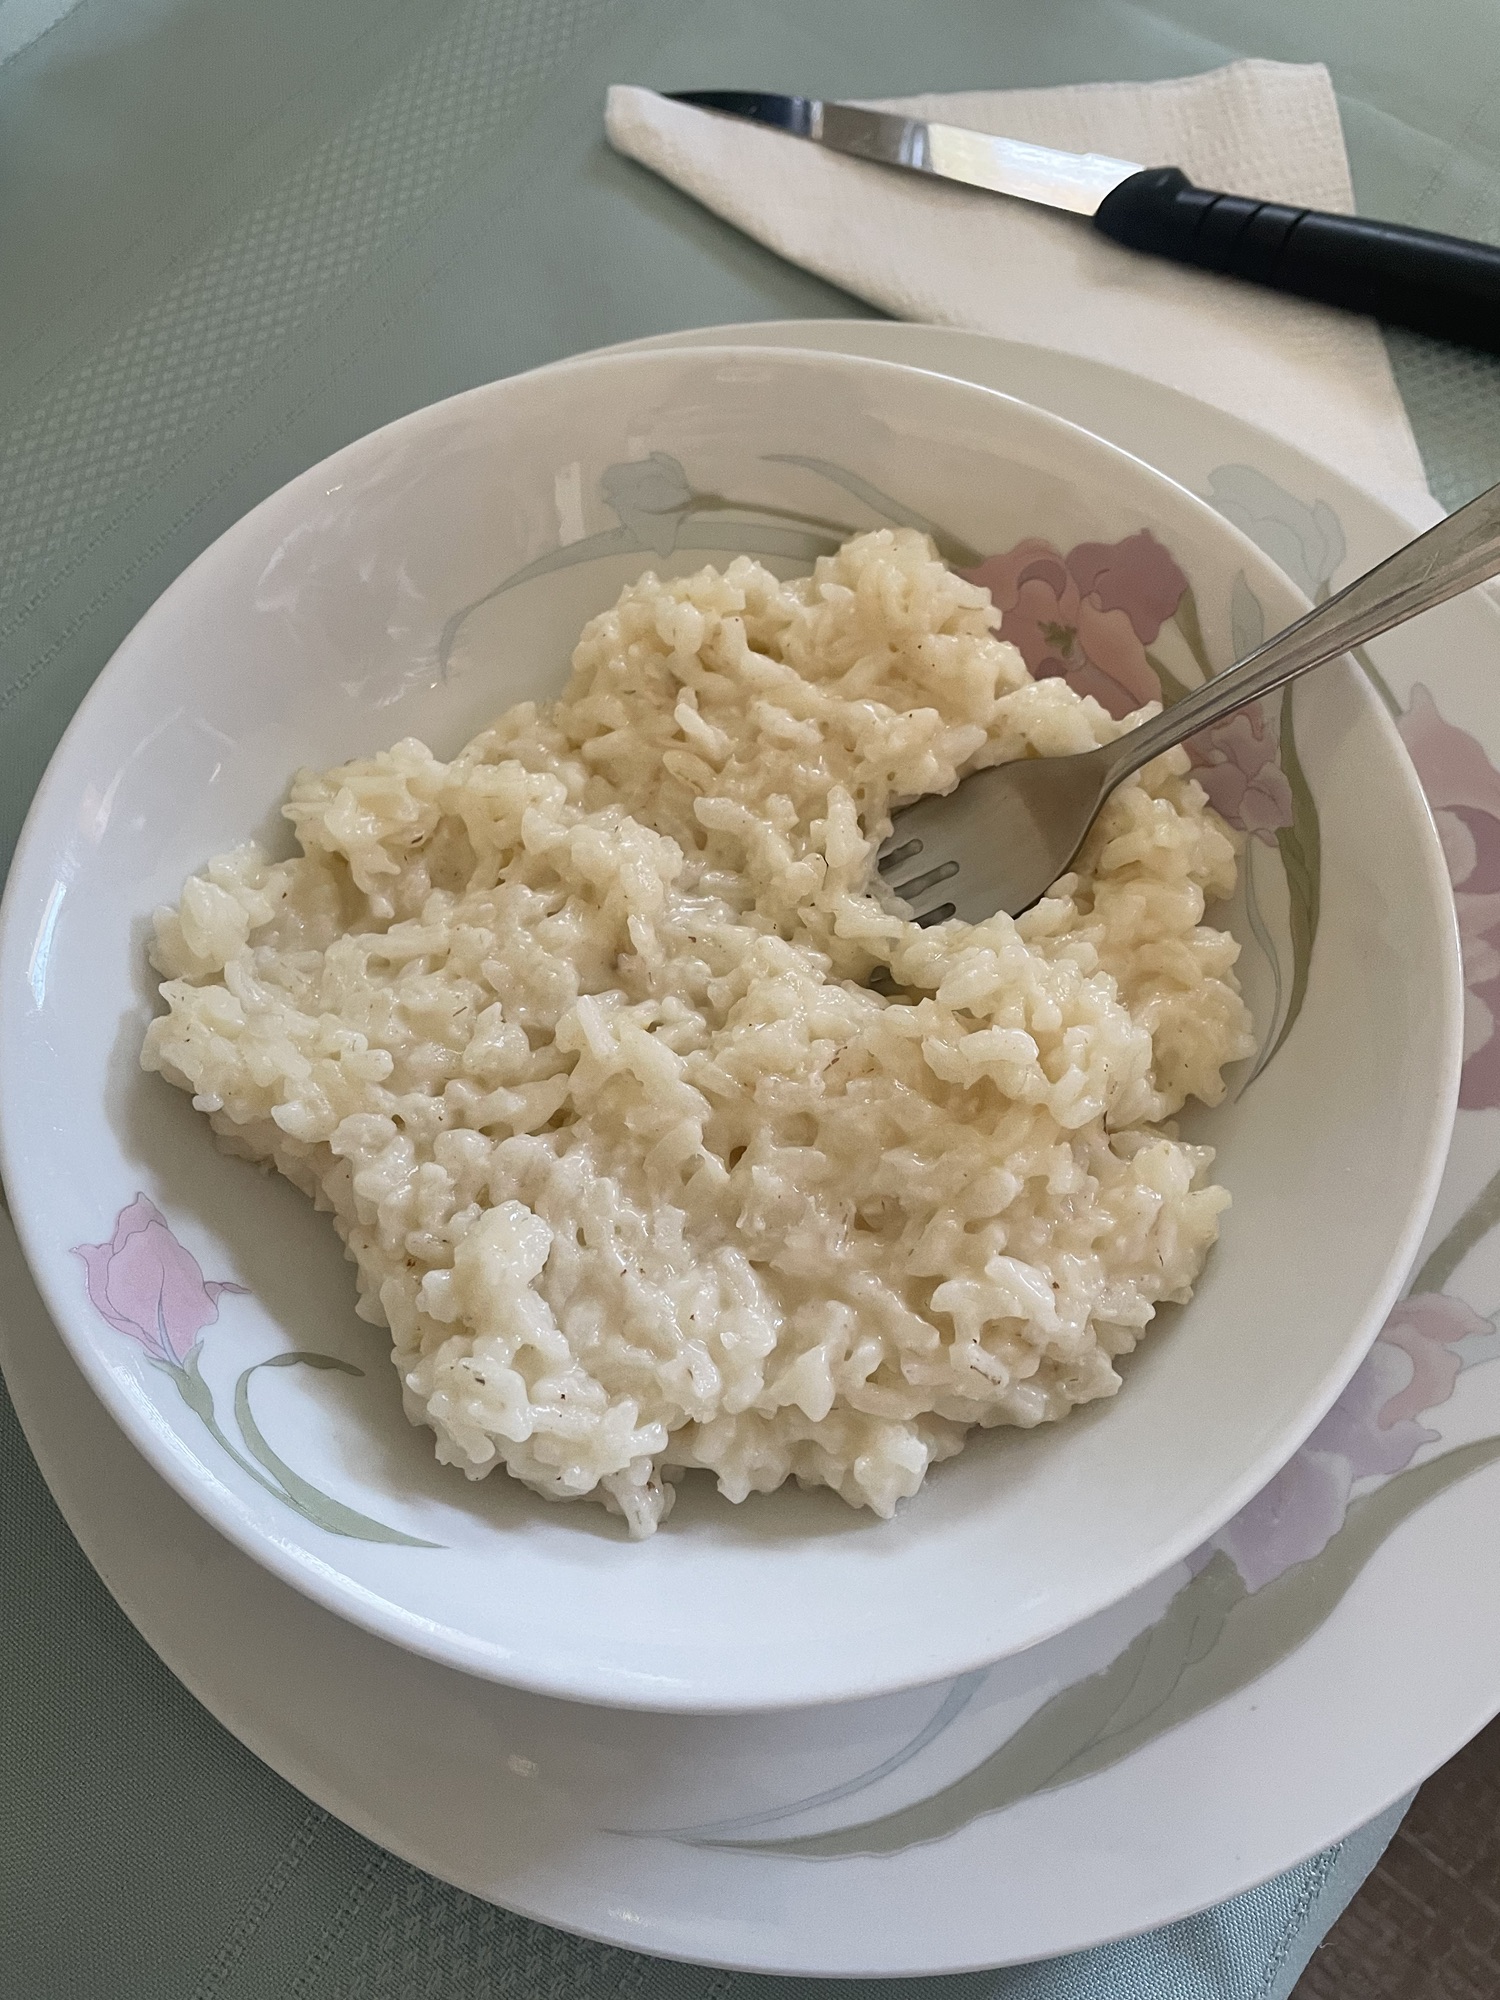
Over the next 20-30 minutes, you’ll need to be stirring constantly on medium heat and adding more broth whenever it gets absorbed. Taste occasionally to see when it’s soft and fully cooked. When you’ve got the desired texture, mix in the parmesan.

And then you’re done! Plate and enjoy! And yes, my family does eat it plain like this. When it’s as good as Nonna’s is, you don’t need anything more.
Depending on what size pot you used, you may have extra broth left. This is a good and wonderful bonus. I always freeze it and make chicken noodle soup later.
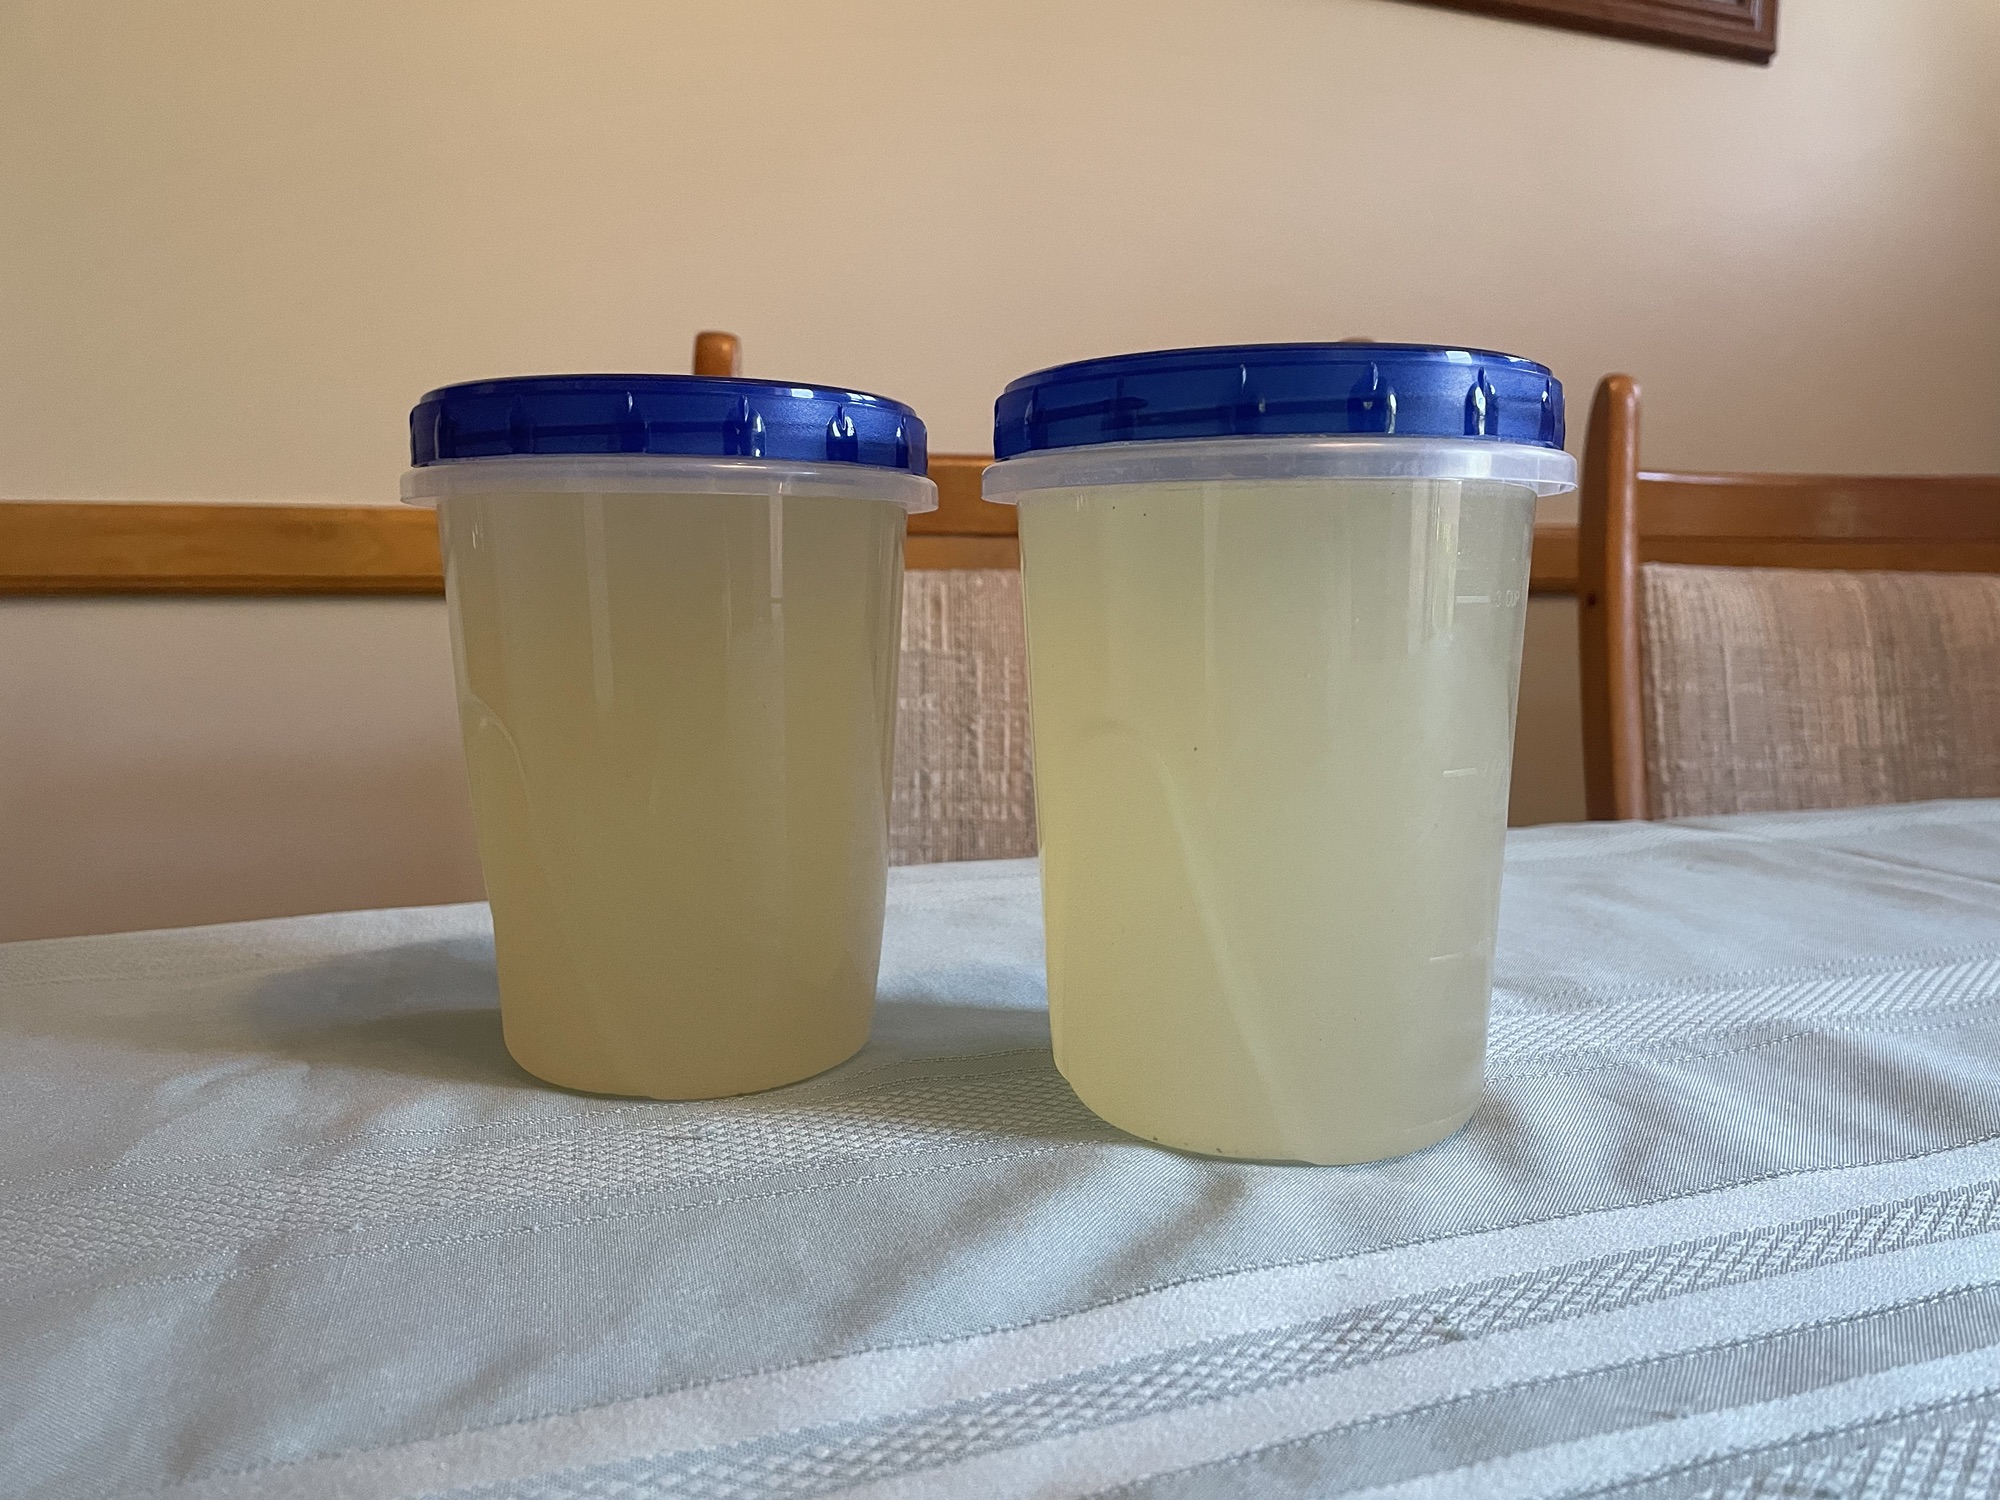
This is 4 delicious bowls of soup for me. Can’t wait.

Risotto is definitely simpler than I thought it’d be. Honestly, trying to understand Nonna’s instructions in Italian was the hardest part. But we did it. If you make this recipe, let me know!

And if you’re looking to bring more of this 92-year-old lady’s cooking into your house, check out her homemade gnocchi recipe I posted a few months ago. It’s even easier to make!

Yum Yum GIF Imgur, 56% OFF | gbu-taganskij.ru

That’s all for now!


Follow me: Twitter / Facebook / Instagram / Bloglovin’

Nonna’s Homemade Gnocchi Recipe

Straight from my 92 year old Italian grandmother’s kitchen comes this extremely easy recipe for gnocchi that’s way better than frozen storebought stuff and way cheaper than any restaurant.

For a serving of 5 or 6, you’ll need the following:

  • 5 medium potatoes of any kind (1 per person, more or less)
  • about 6 cups of white flour (measurements don’t exist to Nonnas)
  • 1 egg
  • seriously, that’s it!

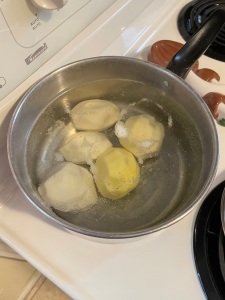
Start by peeling the potatoes and boiling them in unsalted water until they’re soft all the way through (test with a fork).

Five peeled potatoes in a pot of water.

While they’re cooking, make a little mountain of 3 to 4 cups of flour on a counter/cutting board. If you have a food mill, bust that out now too.

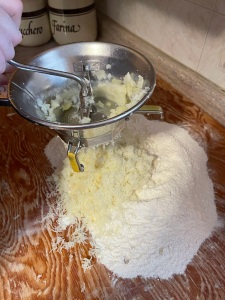
Once the potatoes are soft, put them through the mill on the finest setting right into the flour. If you don’t have a food mill, mash the potatoes up with a fork or cheese grater if you can. You don’t want chunks of potato.

Potatoes being ground through a food mill into a pile of flour.

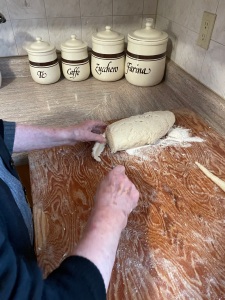
Add the one egg, and start working it all together with your hands. Add a bit of water if you find that things aren’t sticking together well. Eventually, you want to create a log.

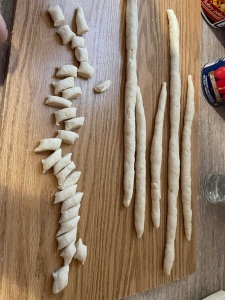
With a knife, cut small slices off the log and roll them into long snakes, about as thick as your thumb. Then chop the snakes into little bite-size pieces.

The dough log being cut into.
Dough in long snake-like rolls and chopped into little pieces.

Now for the most complicated part: making the iconic gnocchi shape. Nonna did laugh at us trying to attempt this, but as long as there’s a bit of a divot in your gnocchi you’ll be fine. Essentially, using two or three fingers, gently press into the dough and roll it towards you slightly, digging your fingertips in. Use flour if things seem sticky. You want it to roll back over the top of your fingers a bit, but it does take a bit of practice. Please enjoy this short video of the master at work.

Once all the dough is cut and rolled, you’re done! Spread the pieces out and let them sit for a bit (like 30 mins minimum) before boiling.

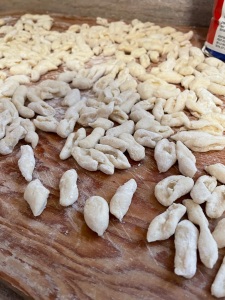
The gnocchi ready and resting.

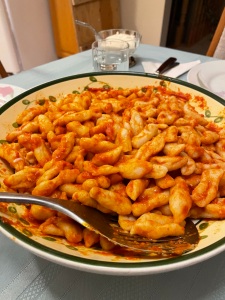
The boiling process is quick and simple. Once the water is bubbling, put the dough in, and salt the water as you would pasta. Once the pieces float, eat one to test texture. My family likes a fairly firm gnocchi. When you’re satisfied, dump the water and serve with whatever topping you prefer. I usually just like plain olive oil, but we had homemade tomato sauce this time.

Fresh gnocchi covered in tomato sauce in a bowl.

But that’s it! Rolling all the dough is the most time-consuming part, so give yourself ample time if you’re working solo.

And let me know how it goes if you attempt this. As I said, the storebought gnocchi simply does not compare to homemade stuff, so please give it a go.

I’m a picky eater so most of Nonna’s recipes never really interested me, but there are a few that do, and I’m making an effort to have her teach me them, and actually record the info as she doesn’t work off a book or anything. So I hope to share a few more of her classic Italian dishes down the line right here on my blog. These aren’t family secrets or anything, so please share and enjoy! She’s 92 and doesn’t speak much English and certainly doesn’t understand the concept of the internet or a blog, but I think she’d be happy knowing that her recipes were gracing dinner tables all over.

Bon Appétit GIF.

That’s all for now!

Follow me: Twitter / Facebook / Instagram / Bloglovin’
Recreating The Denny’s Fried Cheese Melt Because I’m Canadian

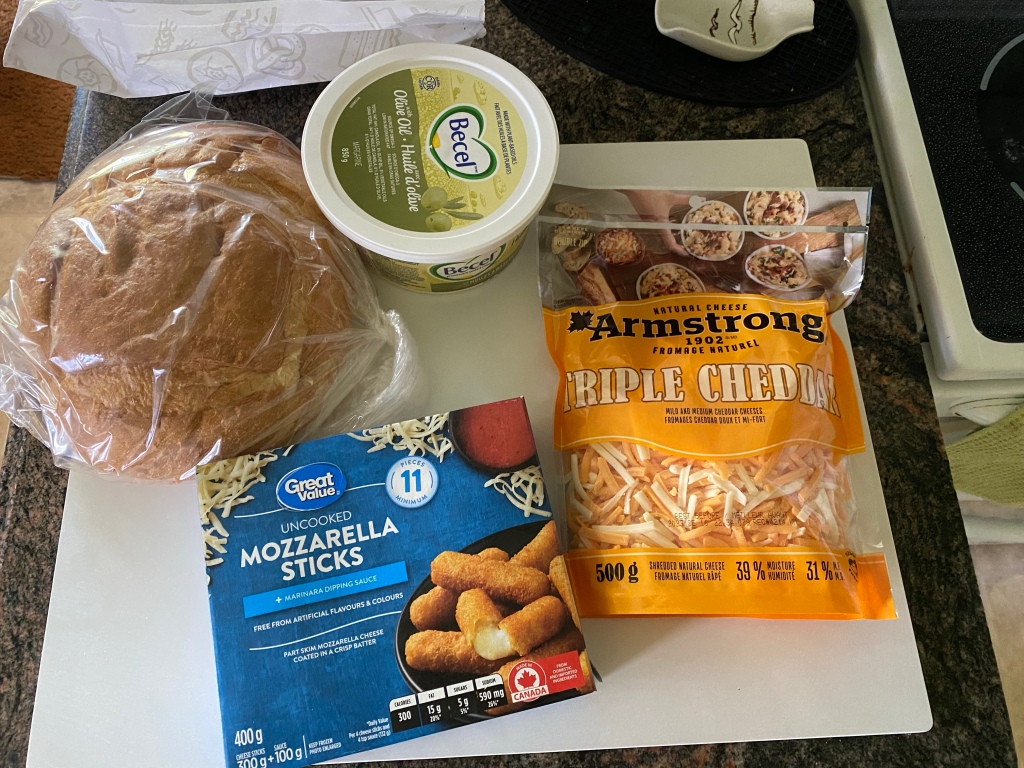
For those looking to also recreate this magical sandwich, it’s simple. You’ll need bread, mozzarella sticks, butter/margarine, and either shredded or sliced cheese.

The ingredients needed to recreate the fried cheese melt.

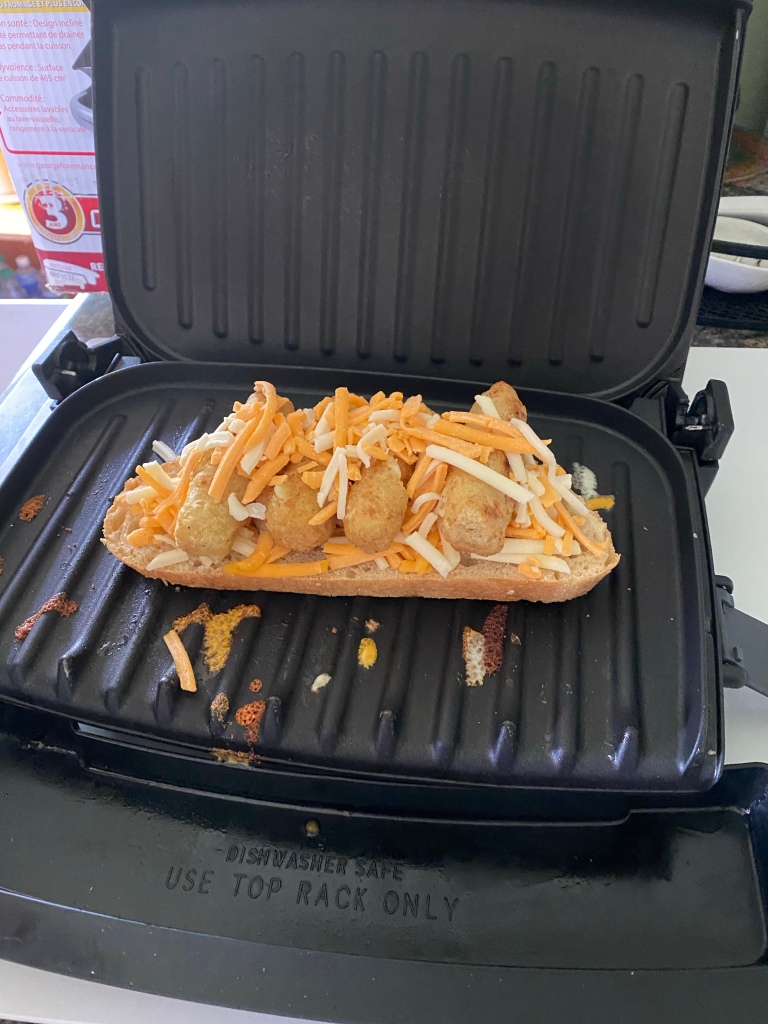
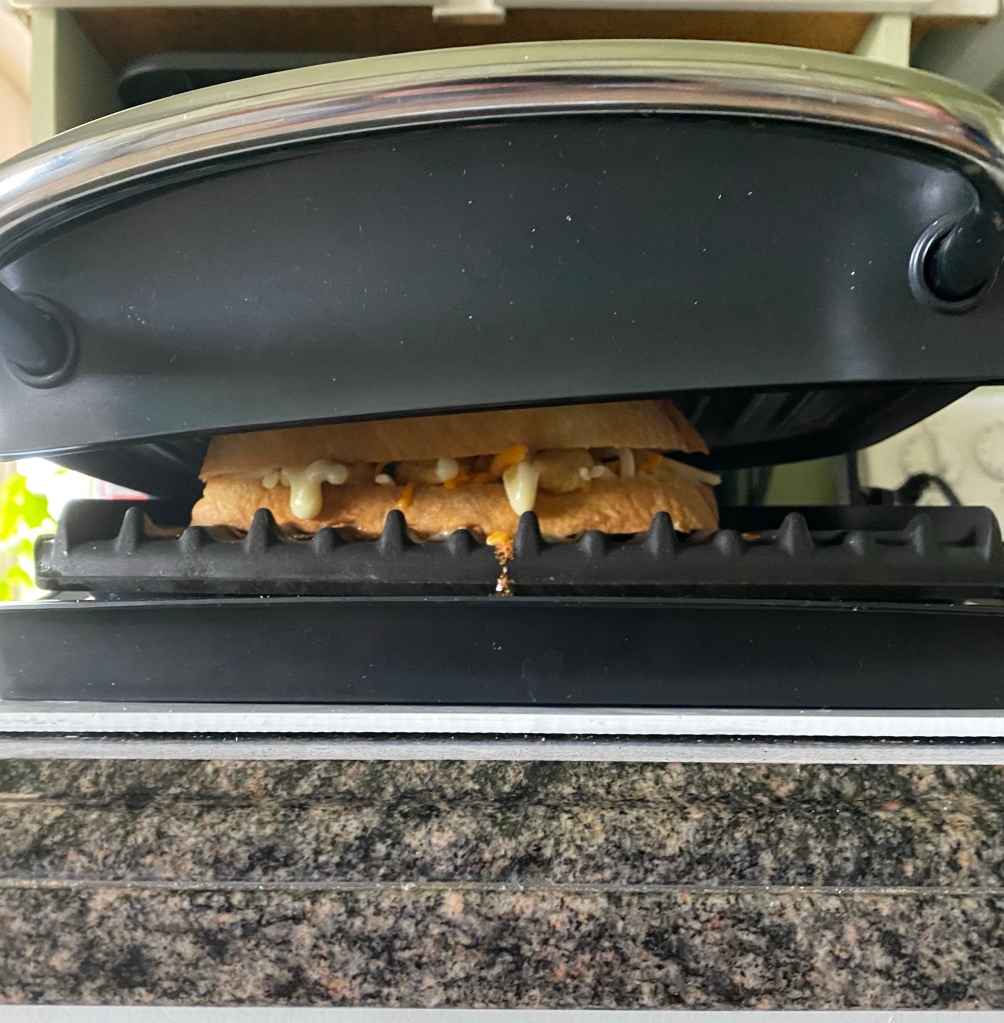
Bake the mozzarella sticks as instructed. While they’re baking, heat up either a pan or, as we did, a trusty George Forman. Then butter one side of your bread slices. A minute before the sticks are done, put the buttered side down on the heat and apply a layer of cheese. Take the mozzarella sticks out of the oven and line up a few on top of that cheese and then cover them with even more cheese. Place your top slice of bread, and let the cheese get melty.

Making the fried cheese melt.the sandwich in the George Forman.

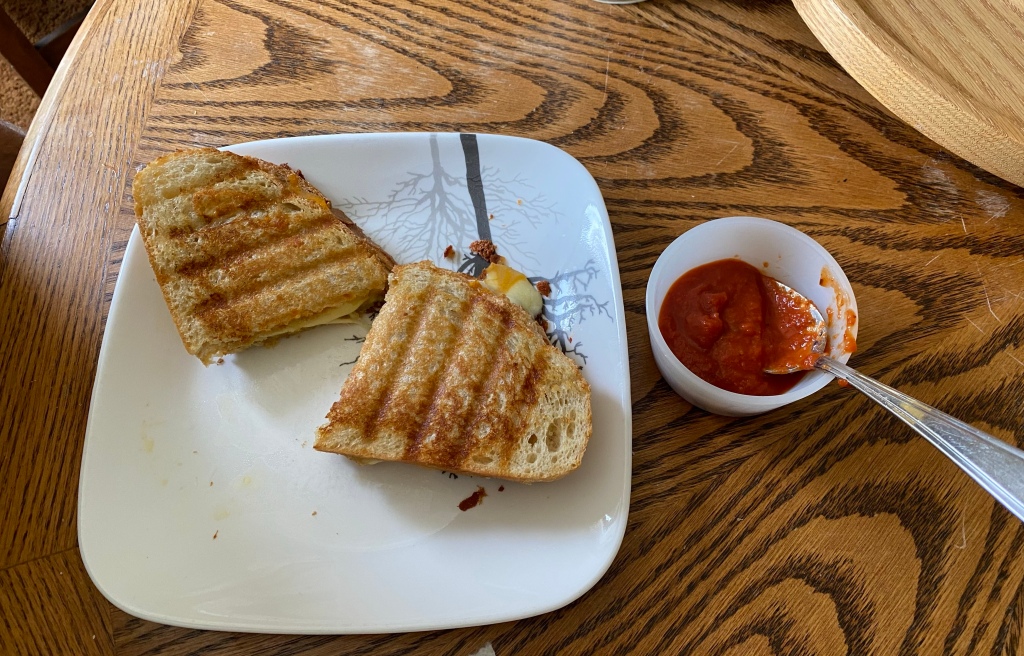
Then eat. A side of marinara sauce is optional but recommended. Enjoy!

The fried cheese melt ready to be eaten.

This is by no means a complicated sandwich, yet it takes a grilled cheese to another level. It’s delicious.

And making it this way is the only way I can experience it without going to another county (that country being USA). Though there are many Denny’s in Canada, they do not offer the Fried Cheese Melt here. It’s sad. There’s no reasoning for this. We up north love cheese just as much as Americans.

I first experienced the glory of the Fried Cheese Melt when I went to Florida last fall. We were supposed to go to a breakfast event, but it was the morning of Hurricane Ian, and the plans were cancelled, so we went elsewhere to one of the few places open nearby: a Denny’s. It wasn’t too busy, but the staff wanted to close it down before the weather got worse, so they handed us a limited Deals Menu. I just wanted pancakes, but there was no option for that on the menu without also getting eggs or sausage. So I took a gamble on the Fried Cheese Melt. It was mind-blowing, and came with a side of fries. My boyfriend only had a bite, and even he was shook at how good it was.

That's damn good GIF.

This was months ago, and we talk about it all the time. We yearn for it. It was he who decided we should make it ourselves one weekend, so shoutout to him for this.

Anyway, if you can get yourself to a Denny’s that sells it, I highly suggest it, and if you have the ingredients to make it yourself, that’s also a great plan. Either way, with a fried cheese melt in your life, you will not regret it.

You're Welcome Gif.

That’s all for now!


Follow me: Twitter / Facebook / Instagram / Bloglovin’