Nonna’s homemade risotto was always a favourite meal of mine, so I definitely wanted to make sure I knew how to make it too. And now I do, so I can pass on this knowledge to you.
Risotto can be made with store-bought chicken broth, which will drastically cut down the prep time, but that’s not the authentic Italian way, so the below recipe does include steps to make a simple and delicious broth. Though it’s not hard, it does take time.
For a serving of 6, you’ll need the following:
- 2 defrosted chicken legs
- a healthy pinch of salt
- 2 carrots
- 2 stalks of celery
- 1 medium onion
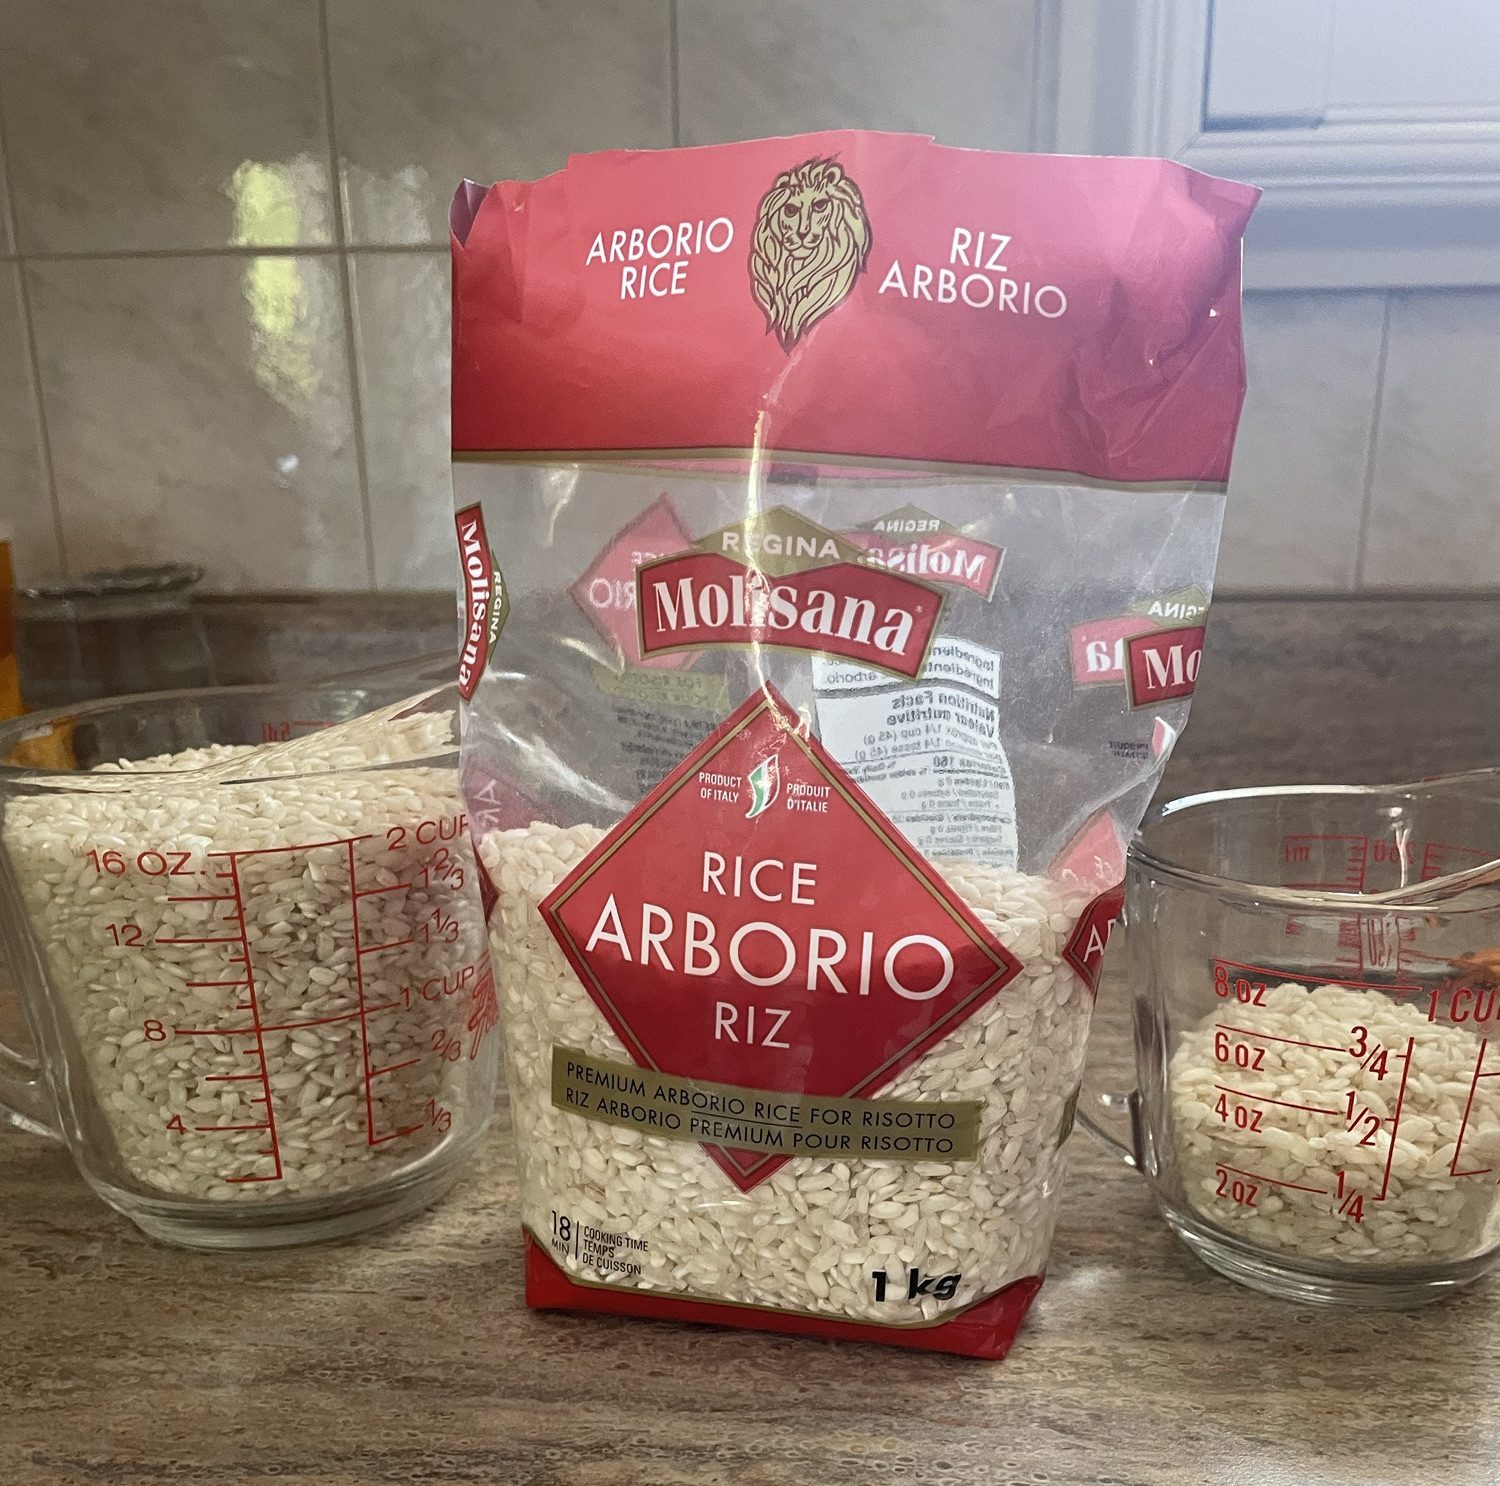
- 2.5 cups of Arborio rice
- 12 teaspoons of ground parmesan cheese (about 2 per person)
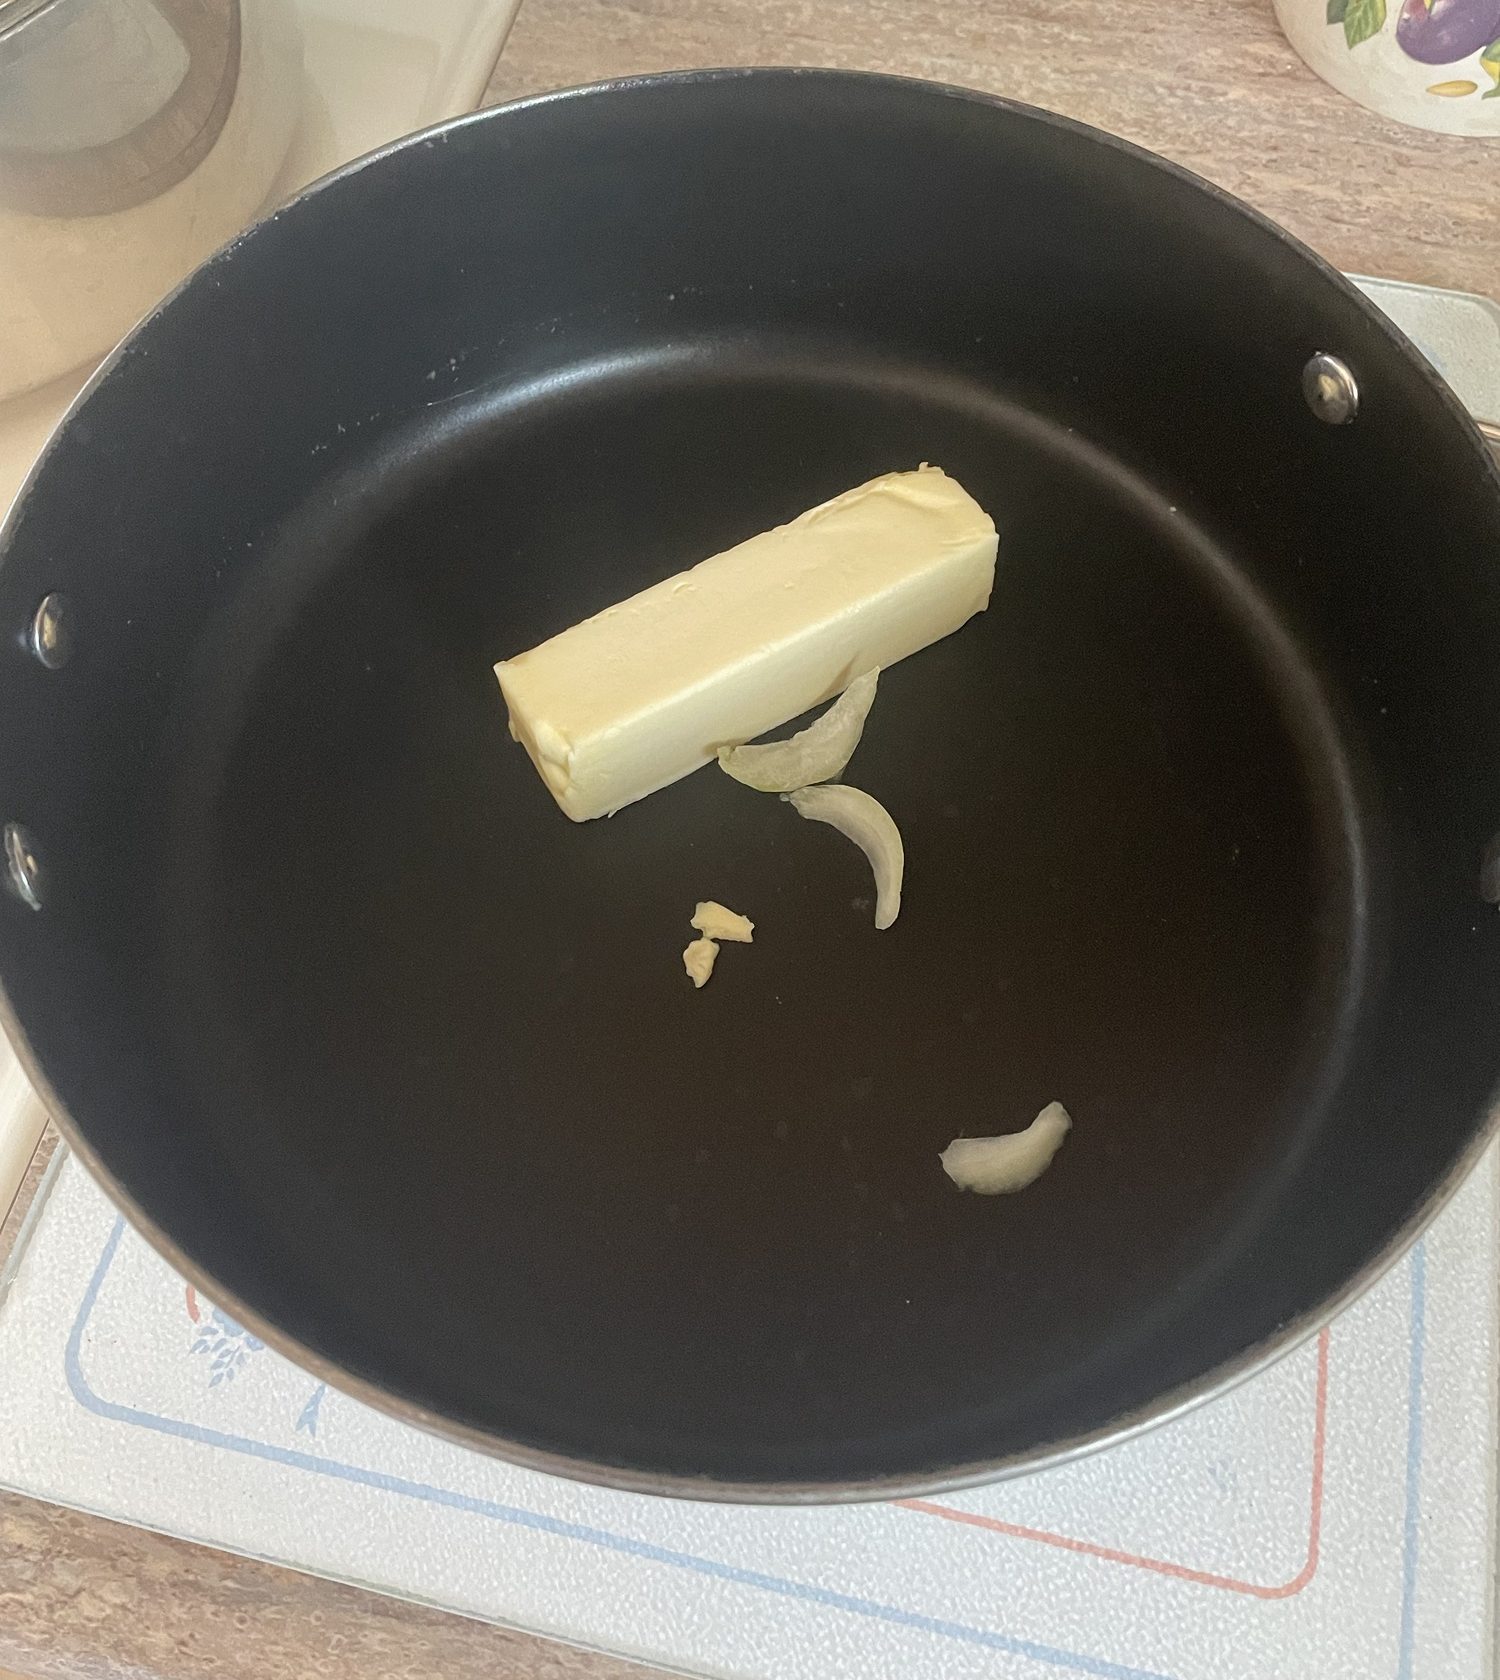
- 1 stick of butter (or half if you want to be slightly healthier)
Making the chicken broth:
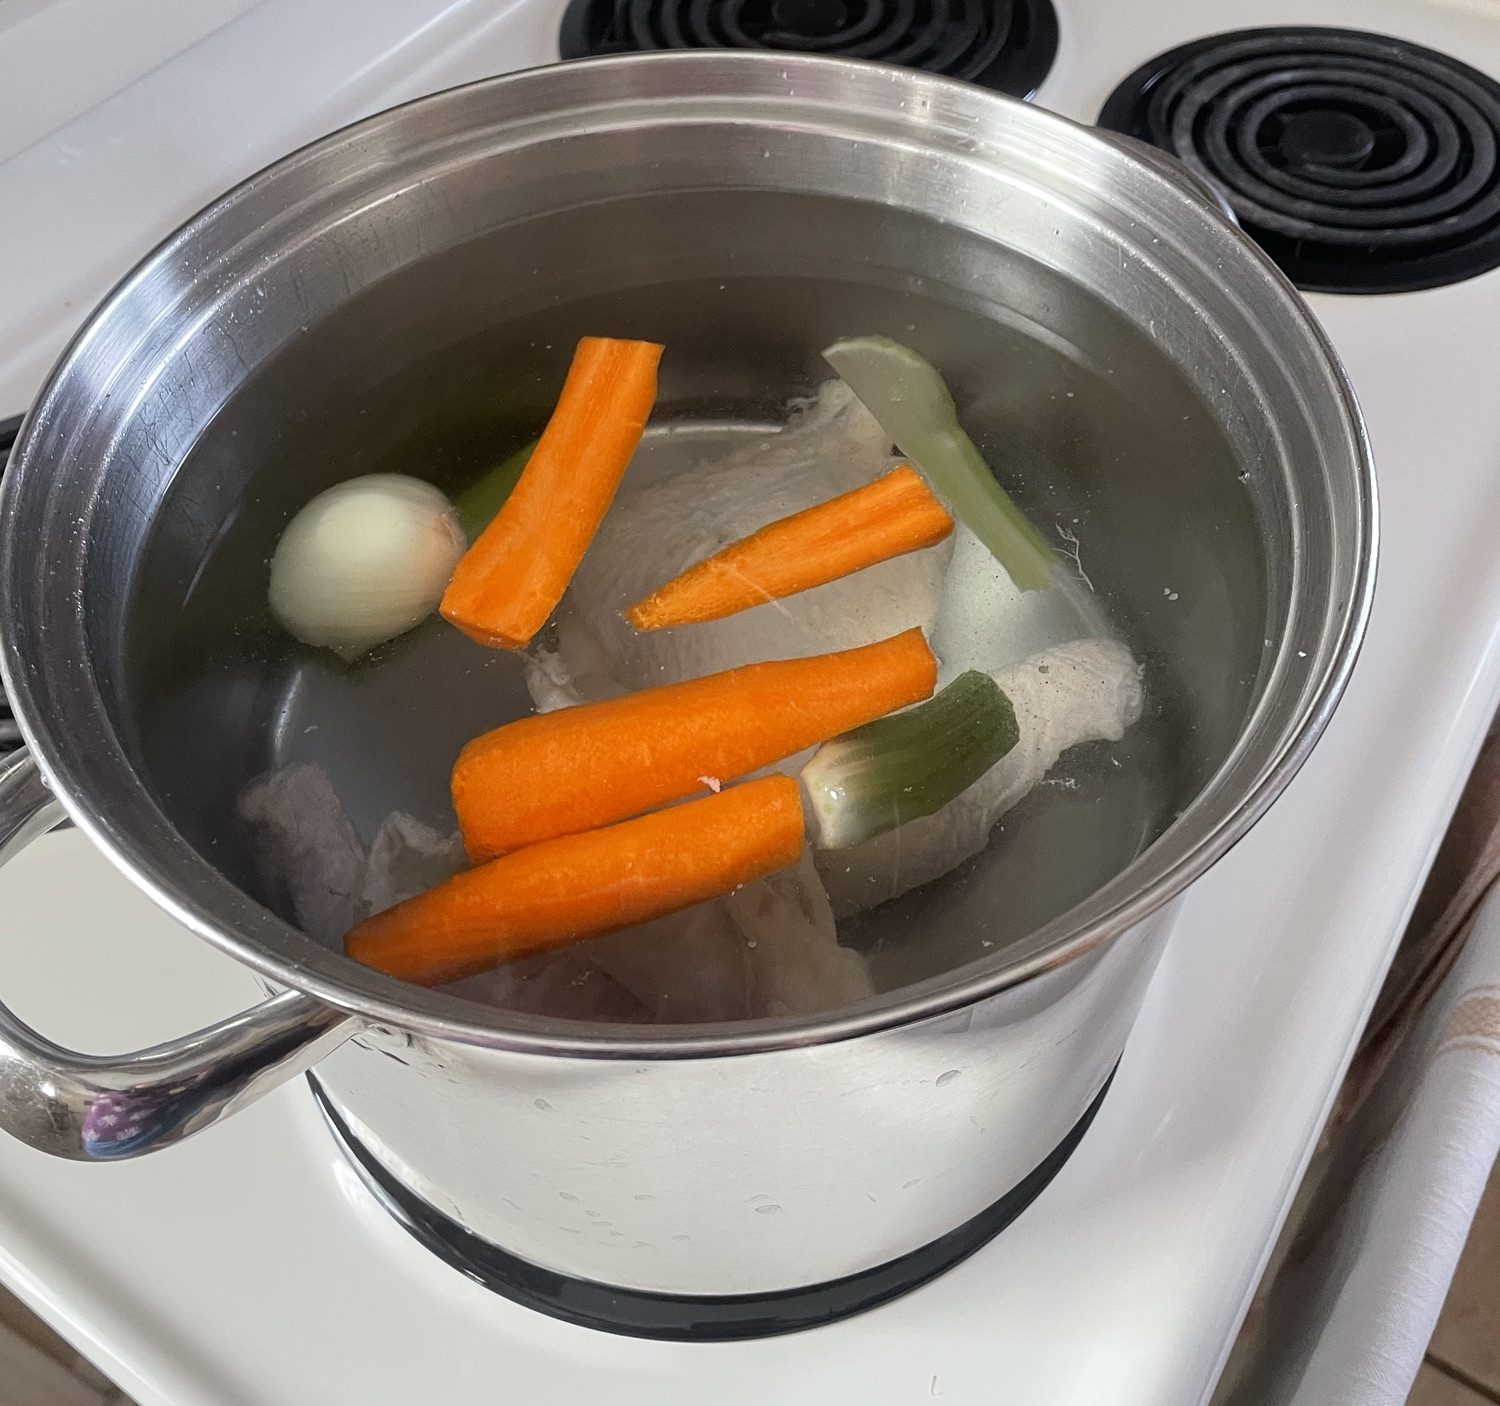
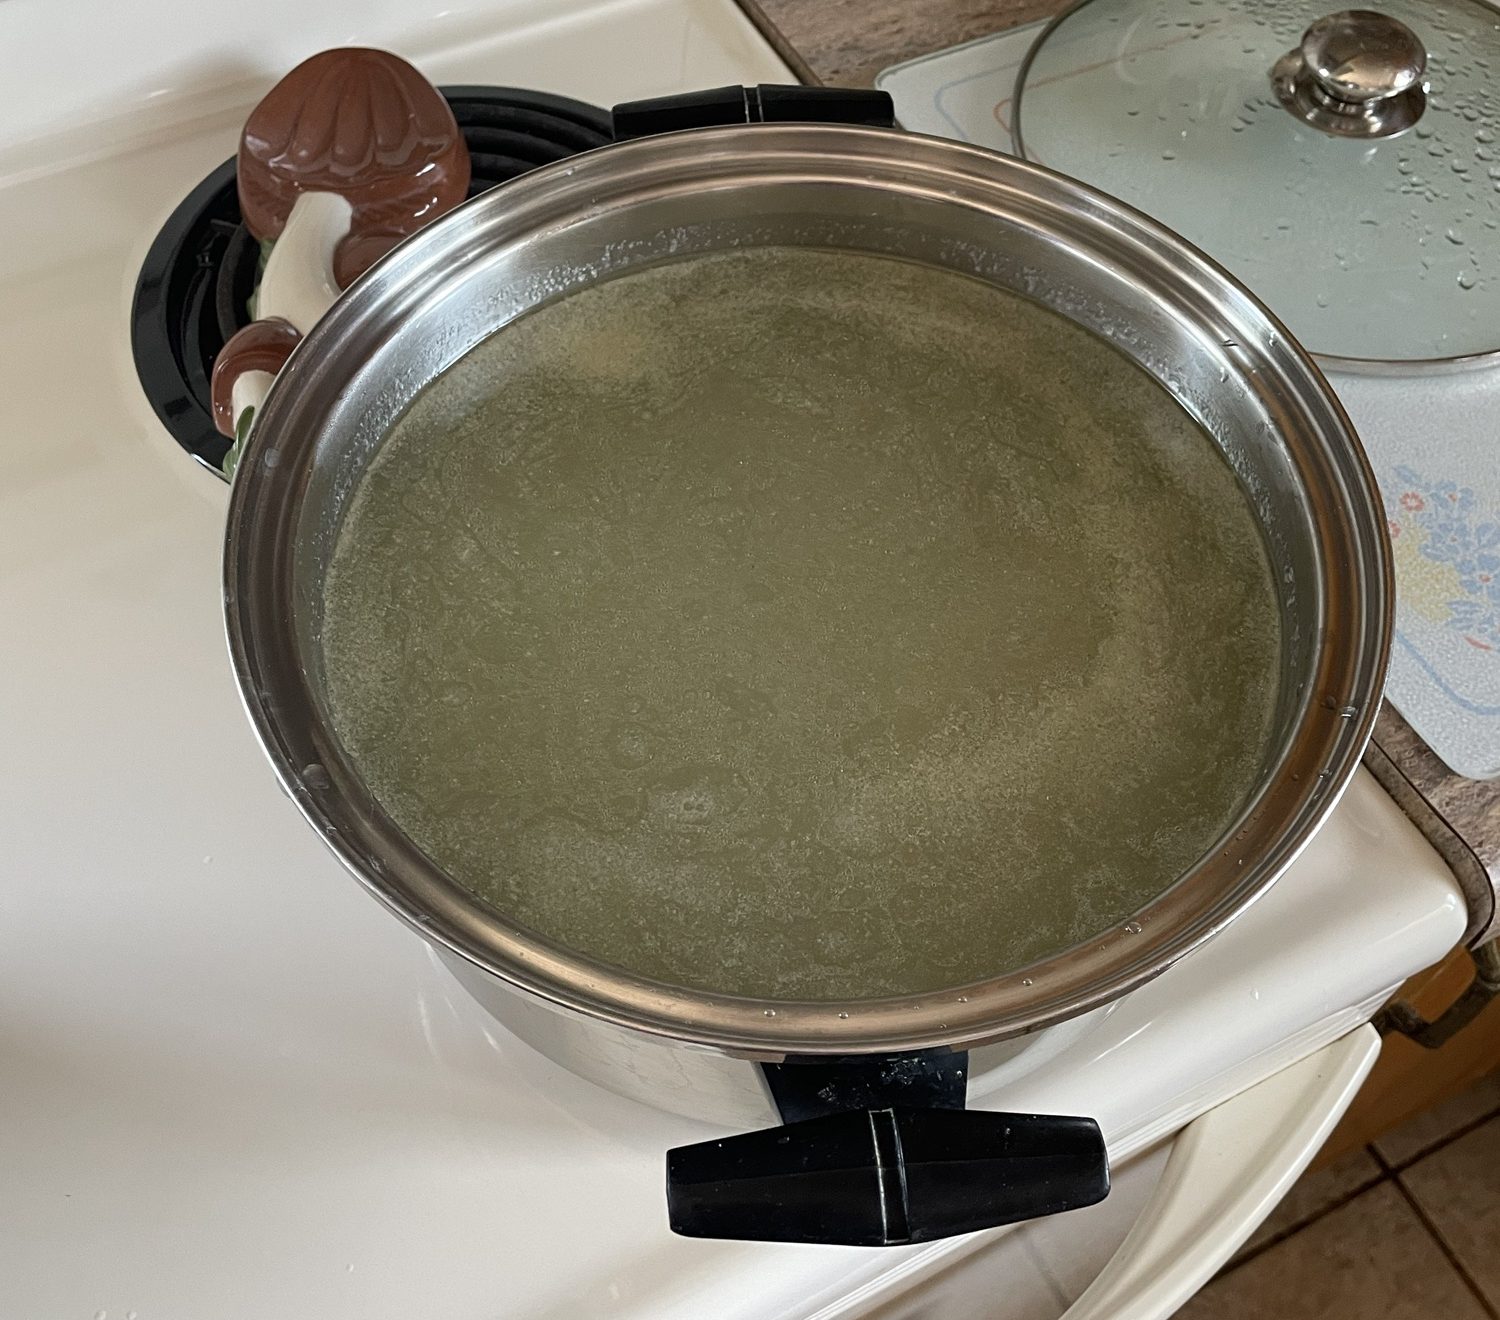
We started at 9 am. In the largest pot you have, put in the chicken legs, salt, 3/4 of the onion, the carrots, and the celery. Fill the pot with water and boil on high.
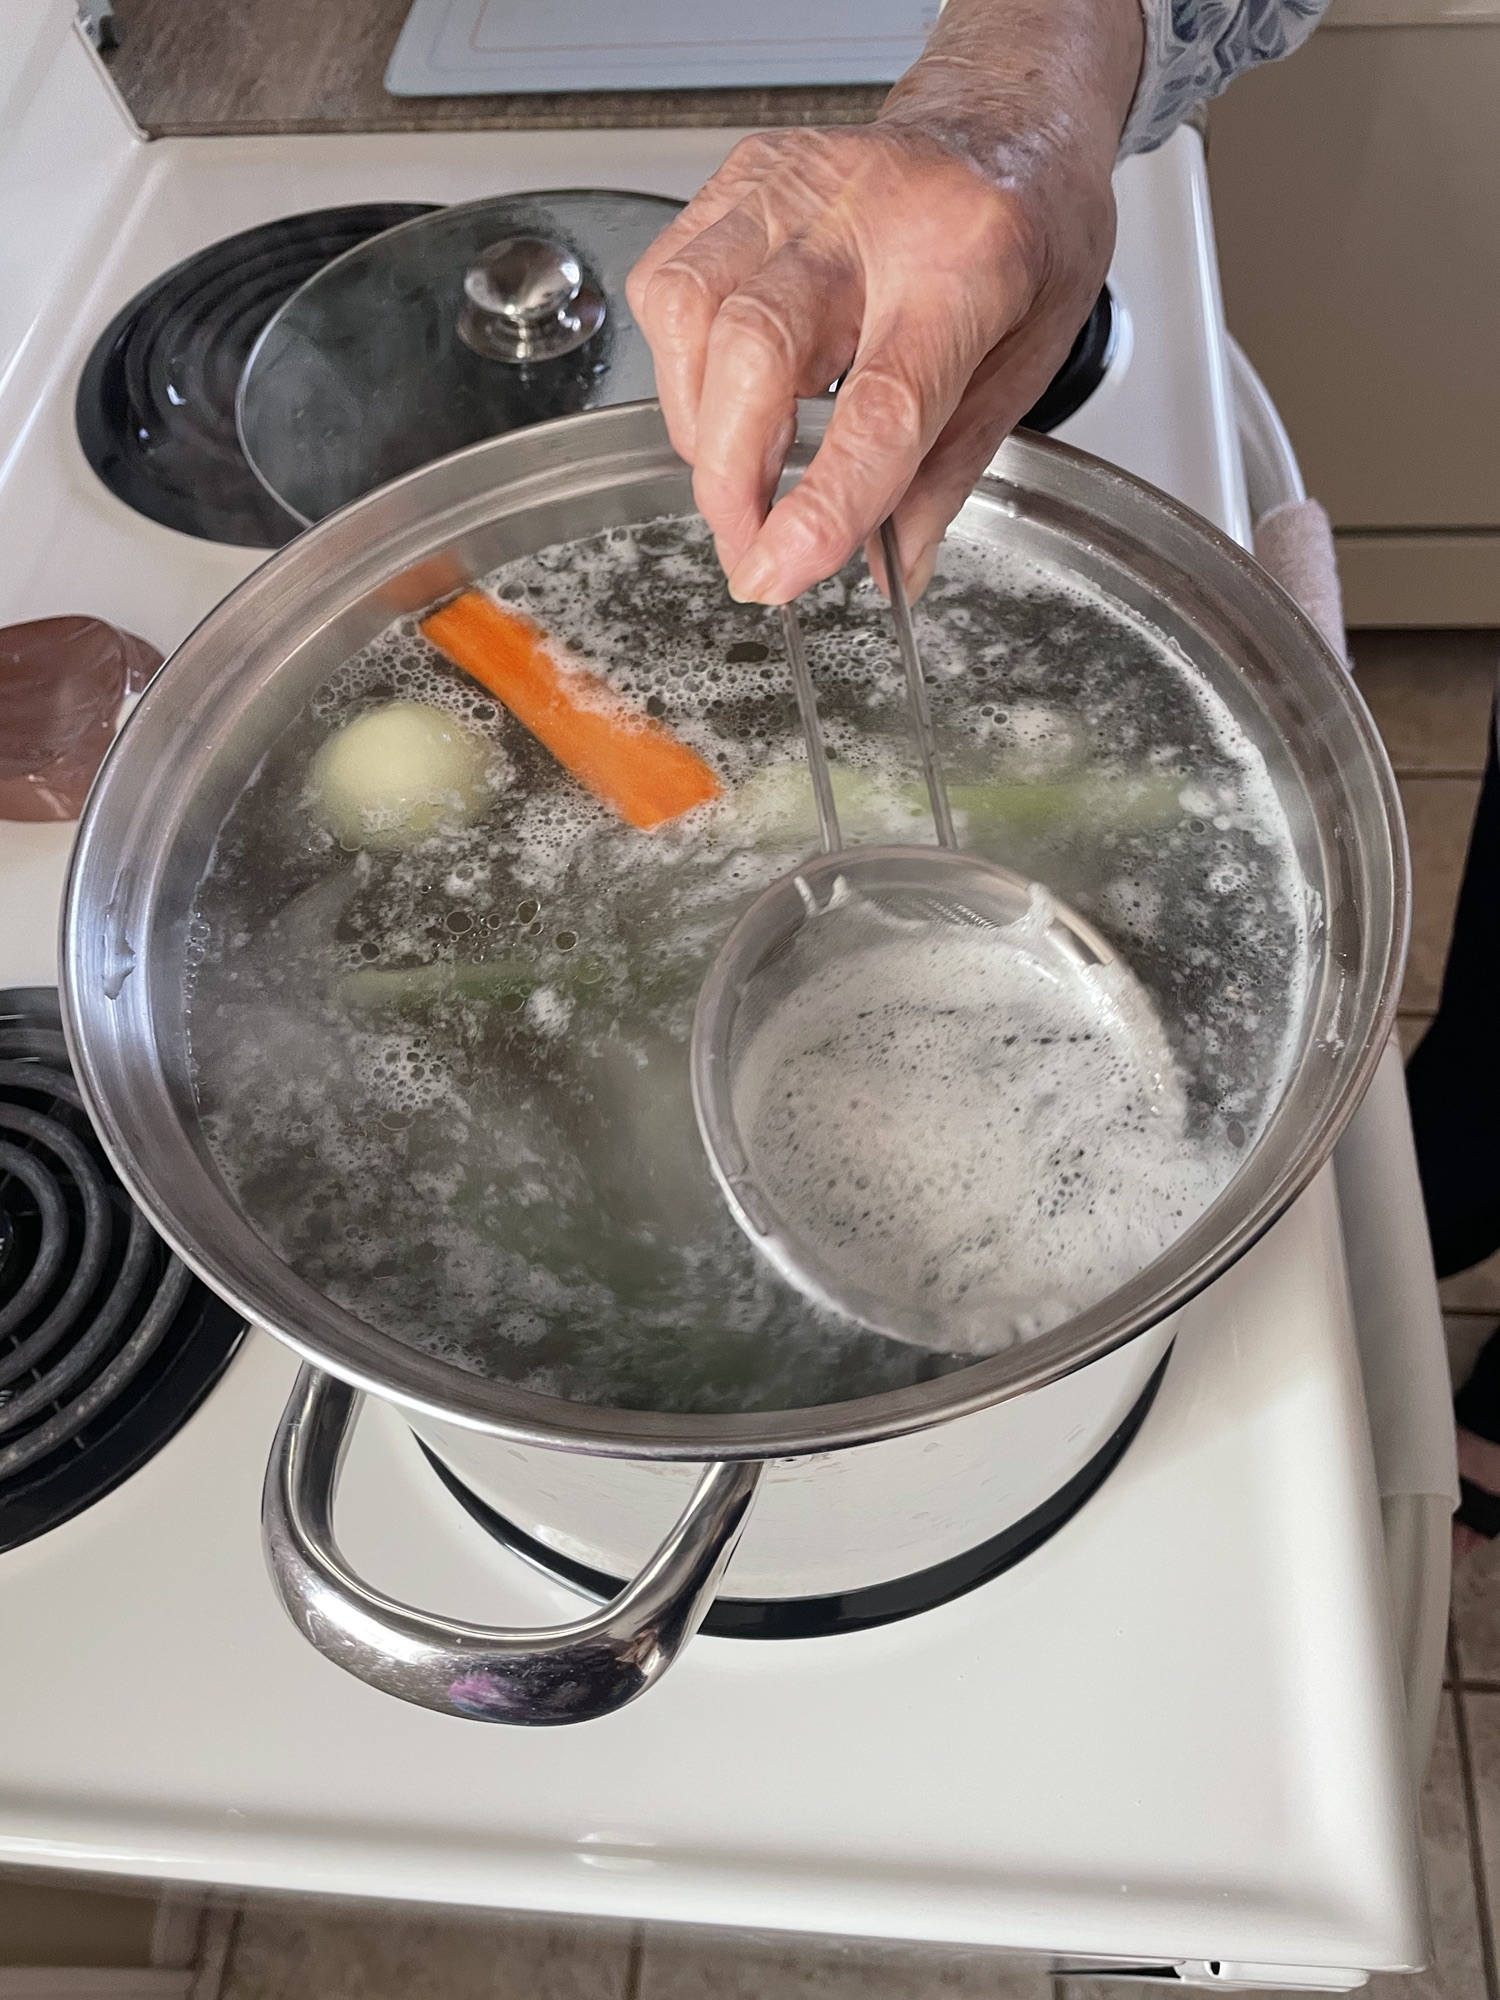
Eventually, there’ll be a white bubbly film gathering on the top of the broth. Use a fine sieve to scoop out as much as you can.
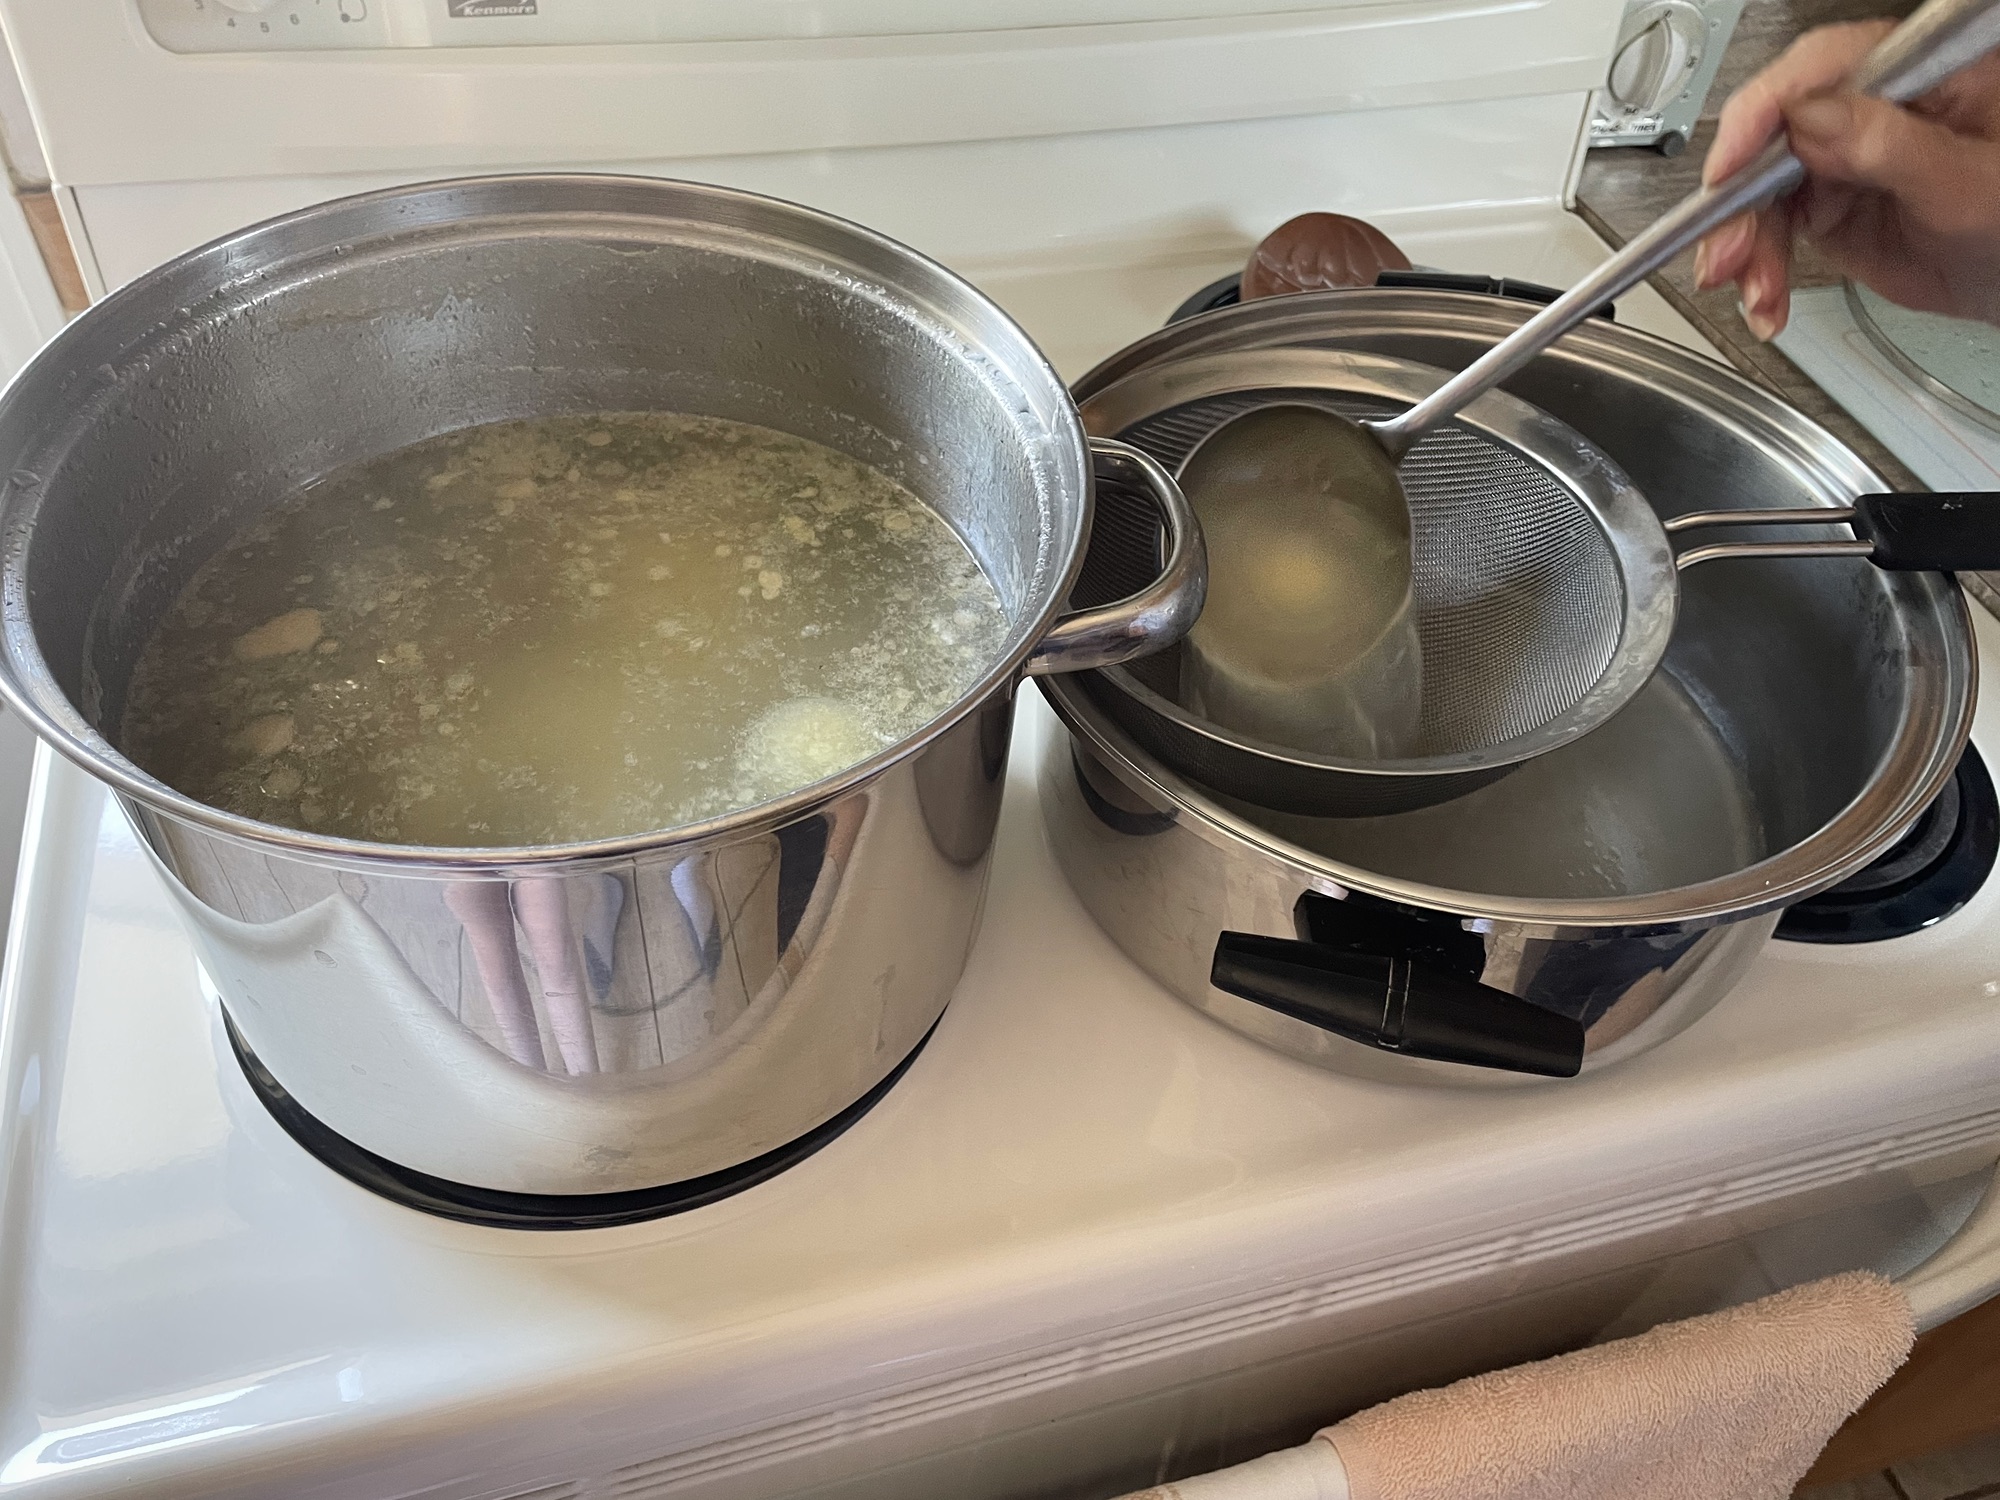
Once you’re done, turn the heat down a bit, and offset the lid. Let it continue to lightly boil for five hours. After that, the broth will be basically done. Once again, there’ll be some film at the top. Strain it and the veggies and chicken out by ladling the broth through the sieve again into another pot. Then you can have it simmer on low until dinner. As for the boiled chicken, that’s now yours to do with as you please.
Making the risotto:
For six people, we used 2.5 cups of Arborio rice. Nonna is partial to the Molisana brand, but you do you. We also set aside a bowl of grated parmesan cheese, about 2 teaspoons per person.
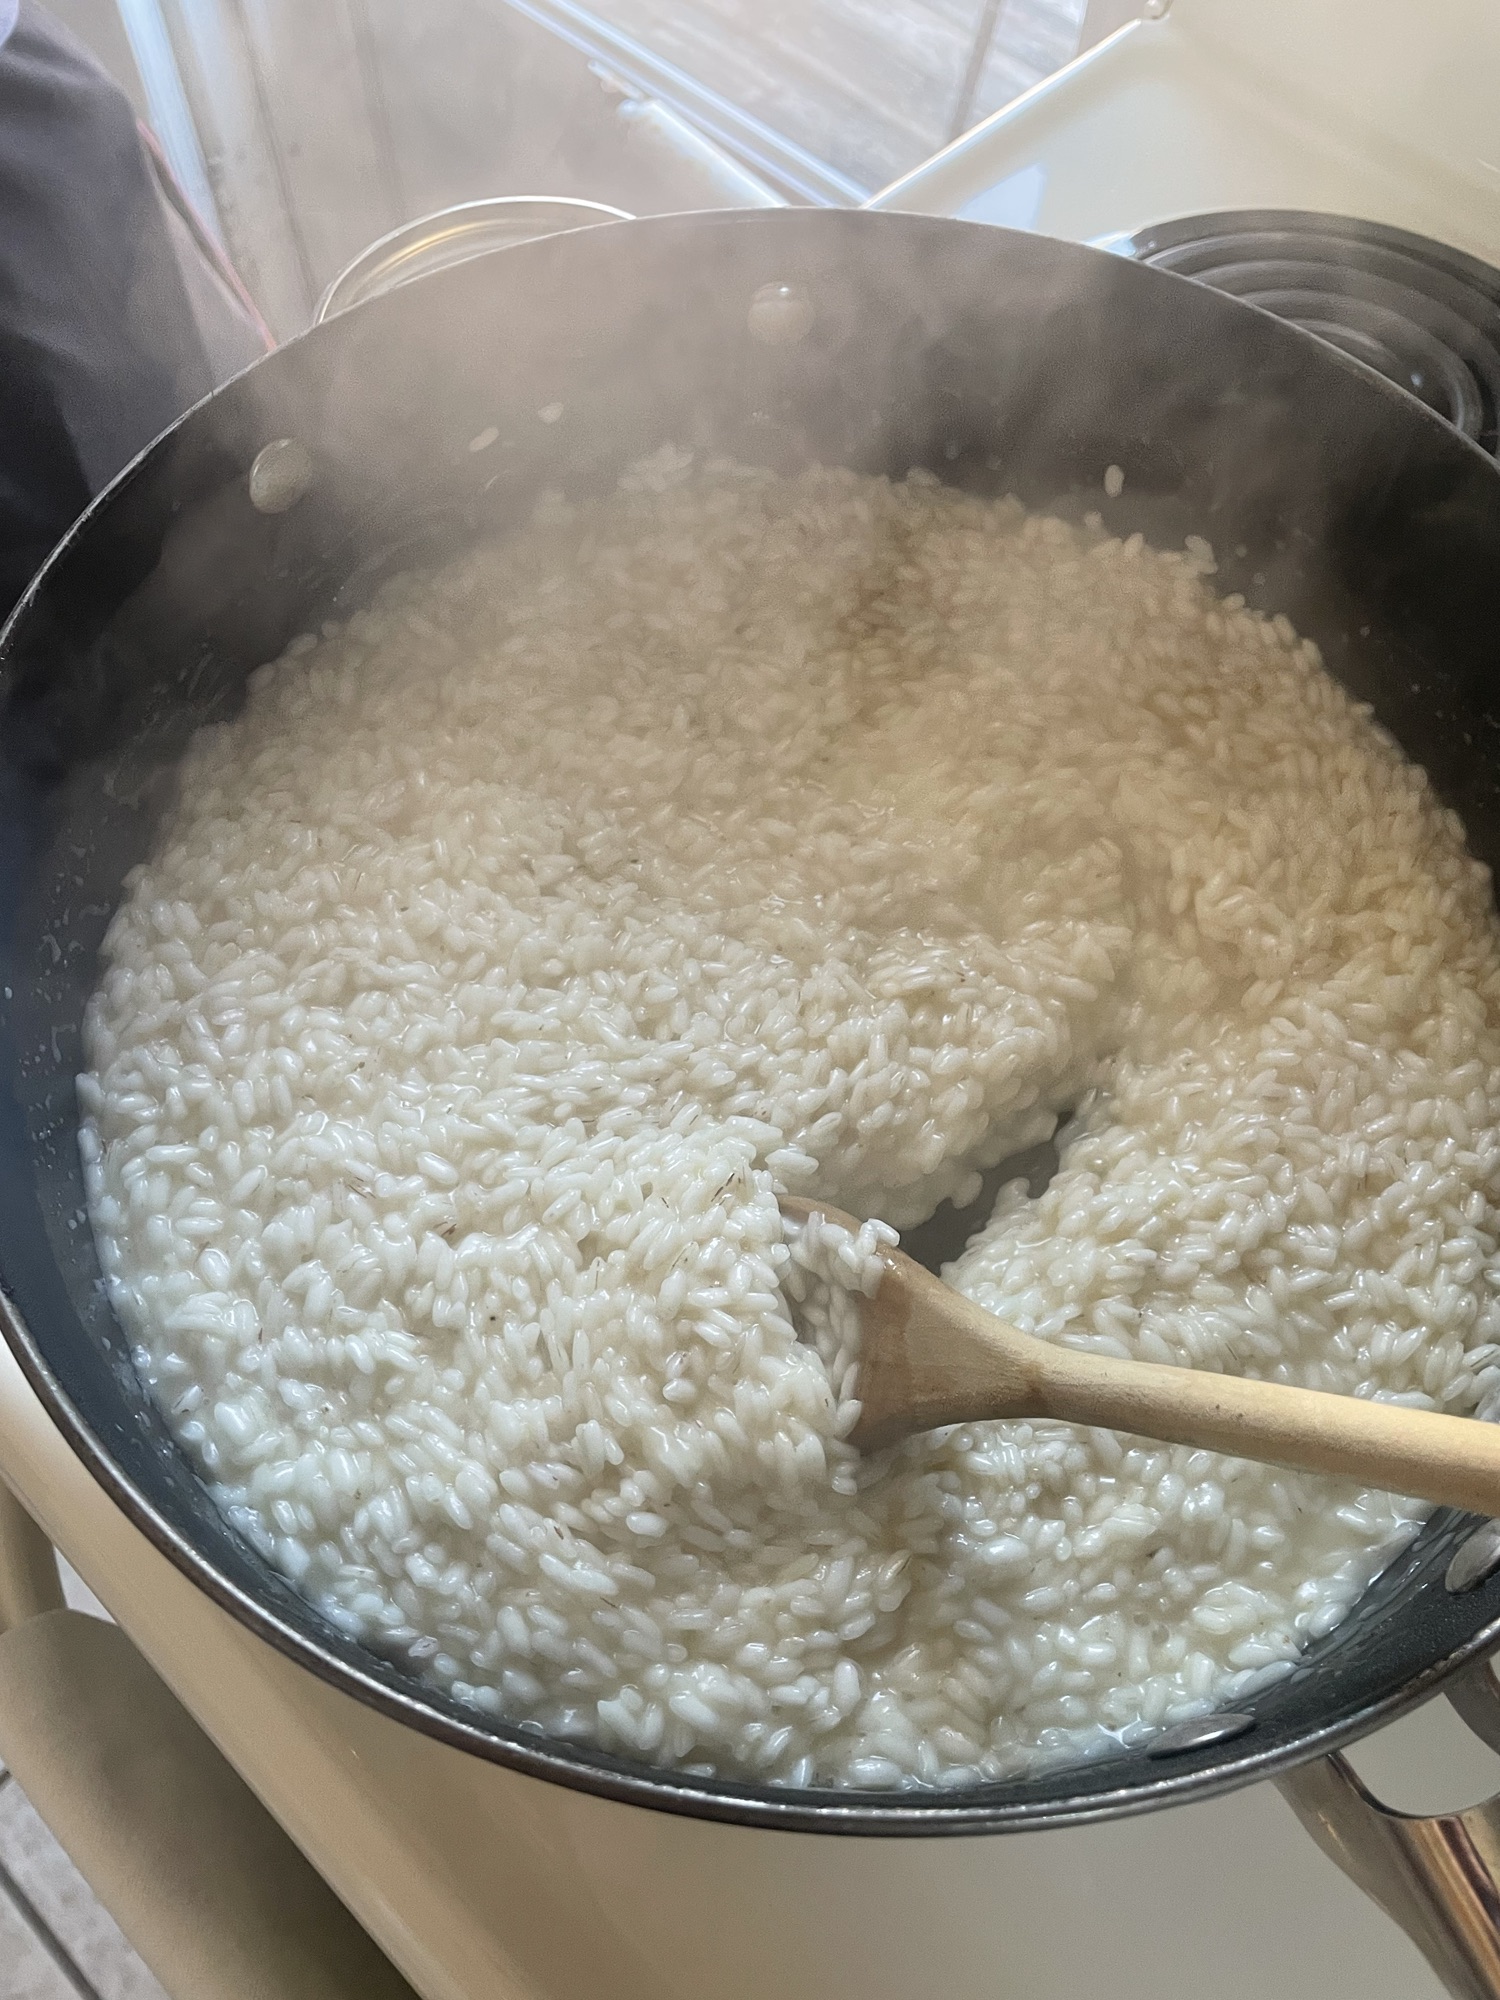
In a large pan, melt the butter and saute the other 1/4 onion. When the butter is fully melted, remove the onion and add the rice. Stir that around for a bit, and then start ladling in broth. Start with about 7-8 ladle-fulls. Stir constantly as the rice absorbs the broth.
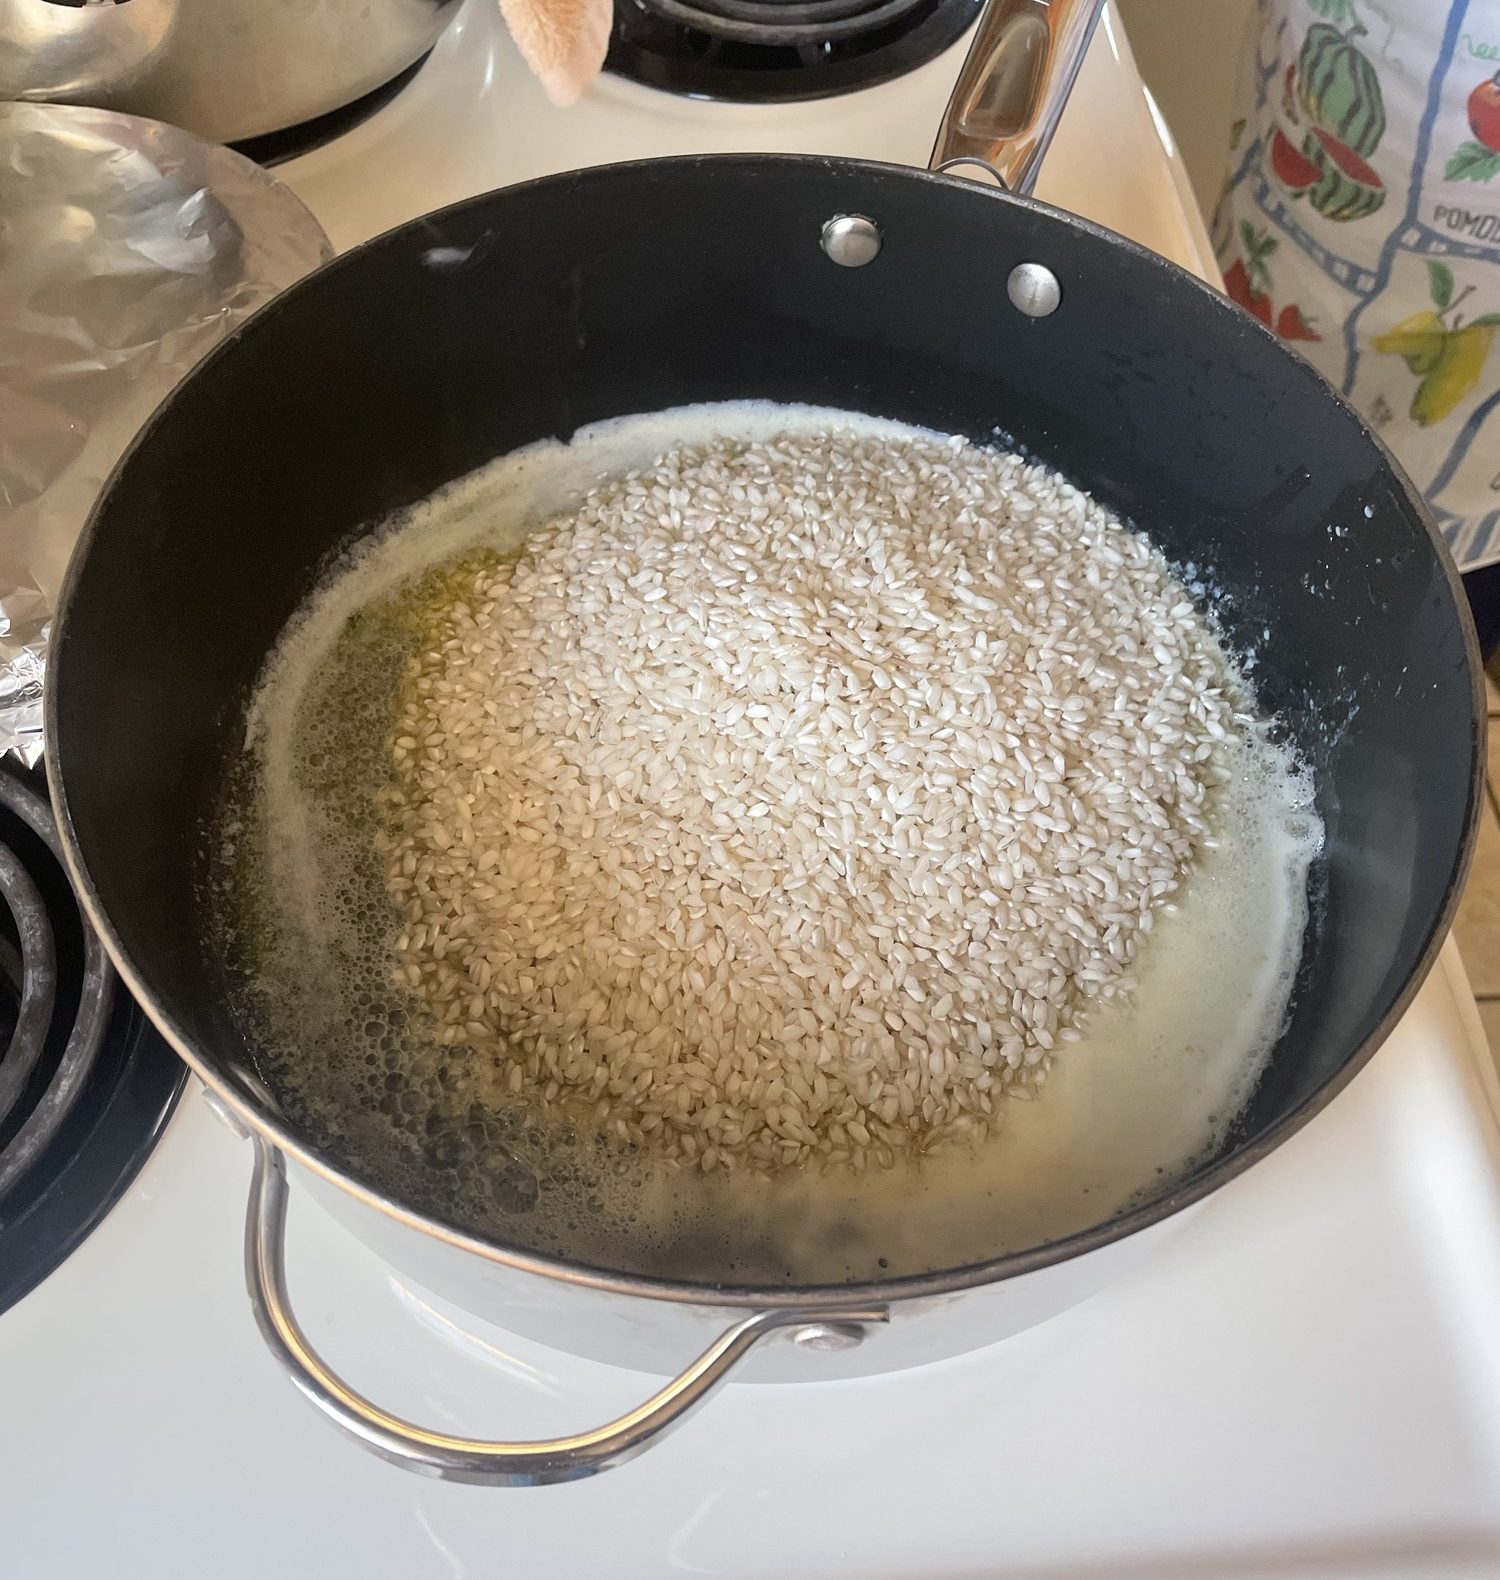
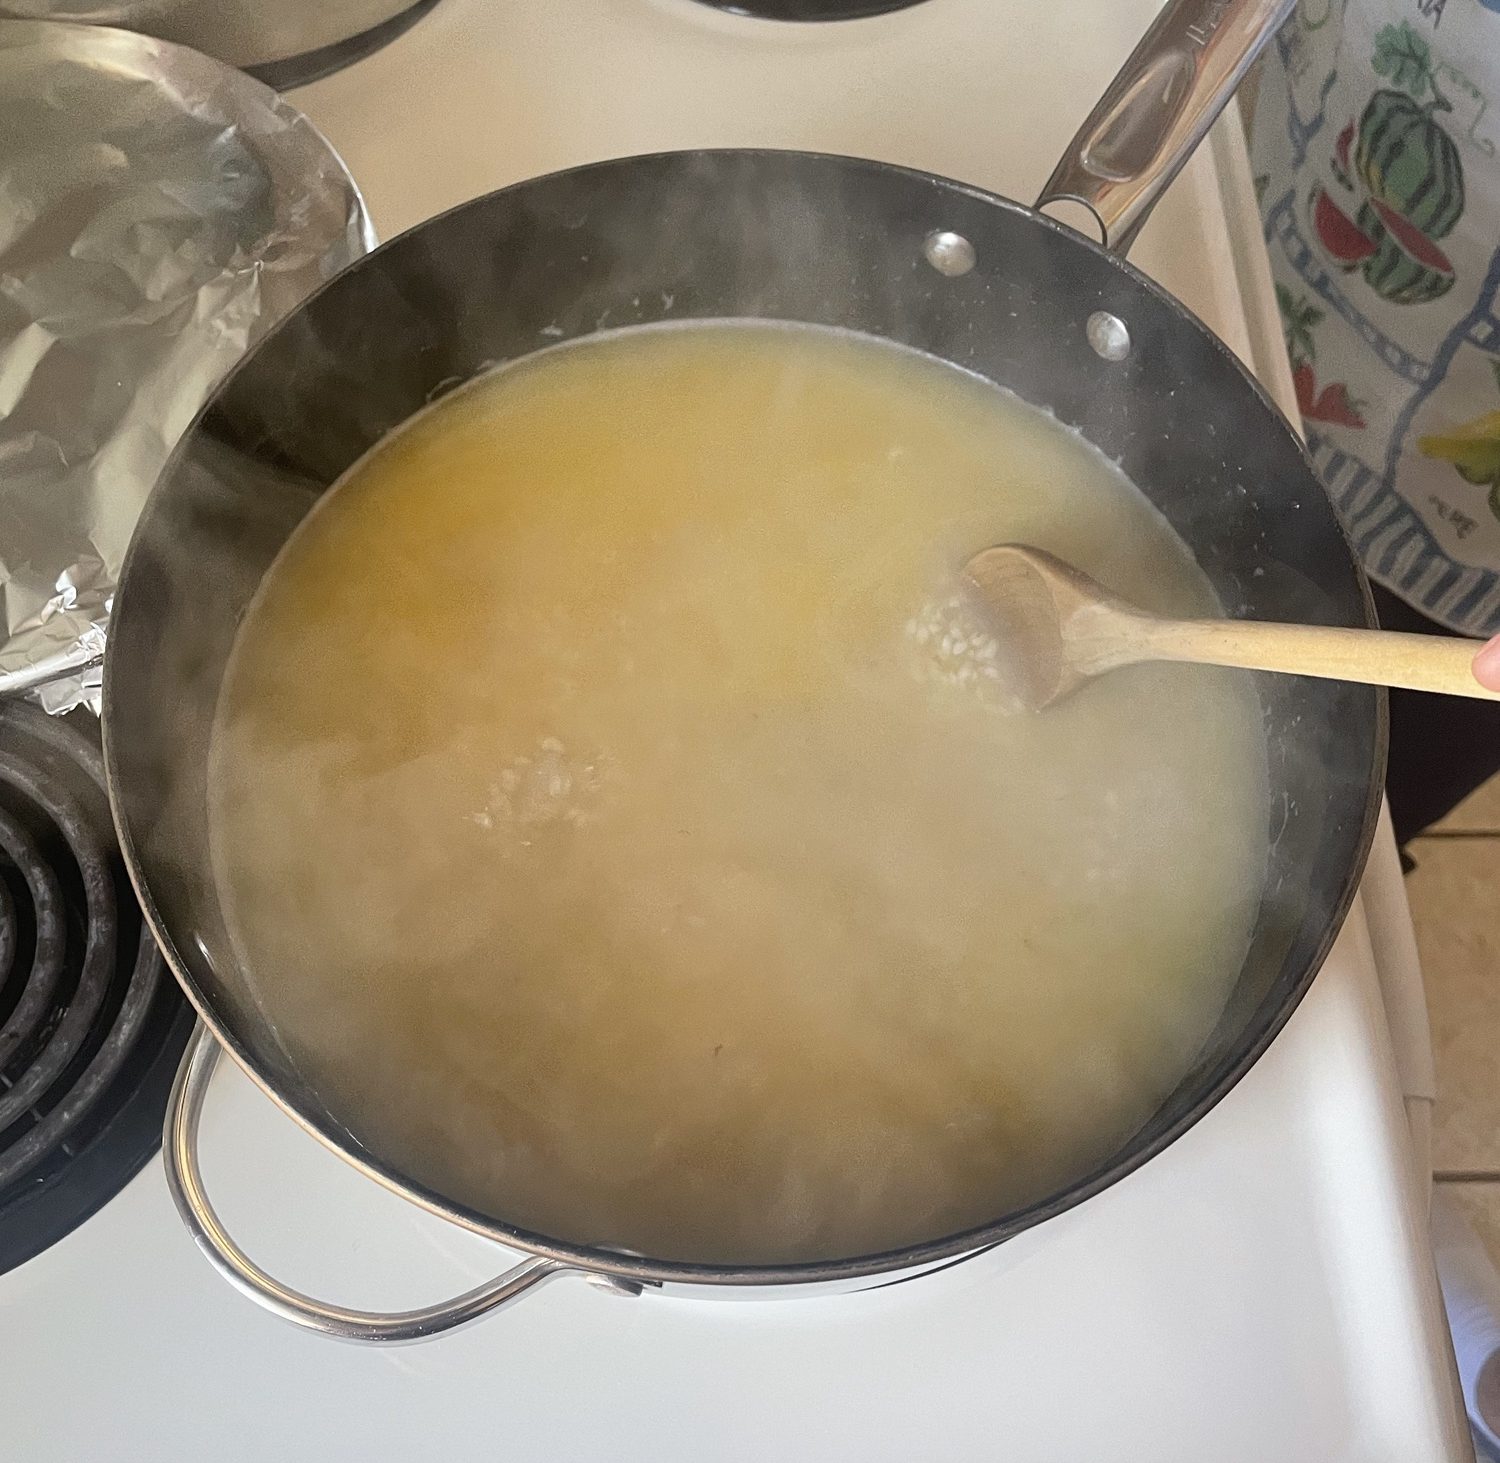
Over the next 20-30 minutes, you’ll need to be stirring constantly on medium heat and adding more broth whenever it gets absorbed. Taste occasionally to see when it’s soft and fully cooked. When you’ve got the desired texture, mix in the parmesan.
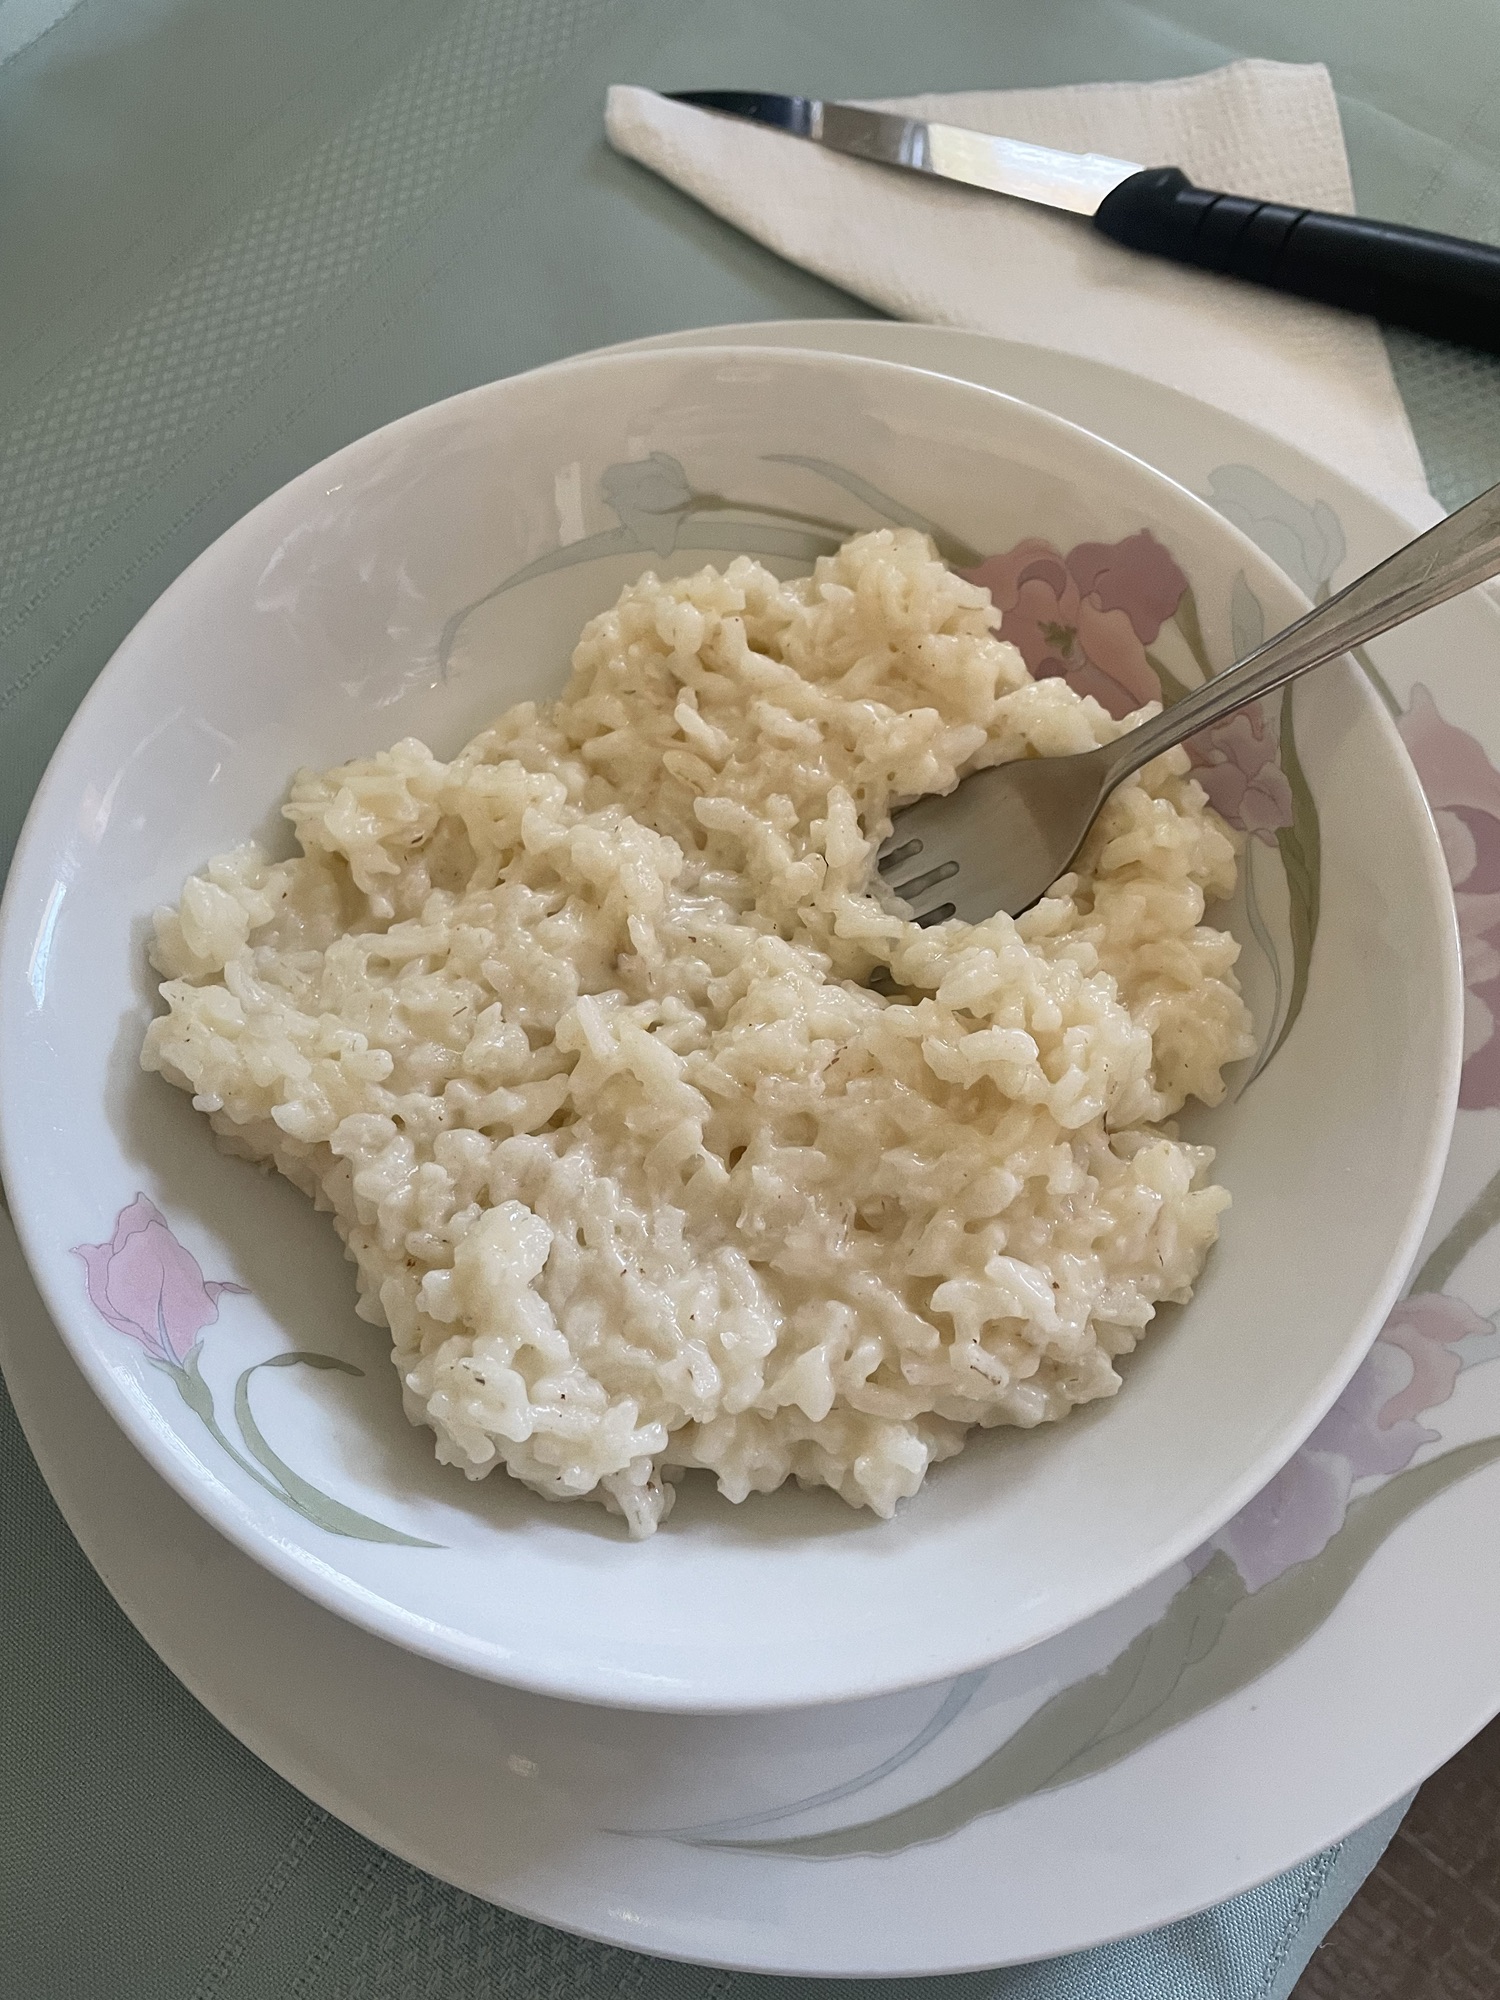
And then you’re done! Plate and enjoy! And yes, my family does eat it plain like this. When it’s as good as Nonna’s is, you don’t need anything more.
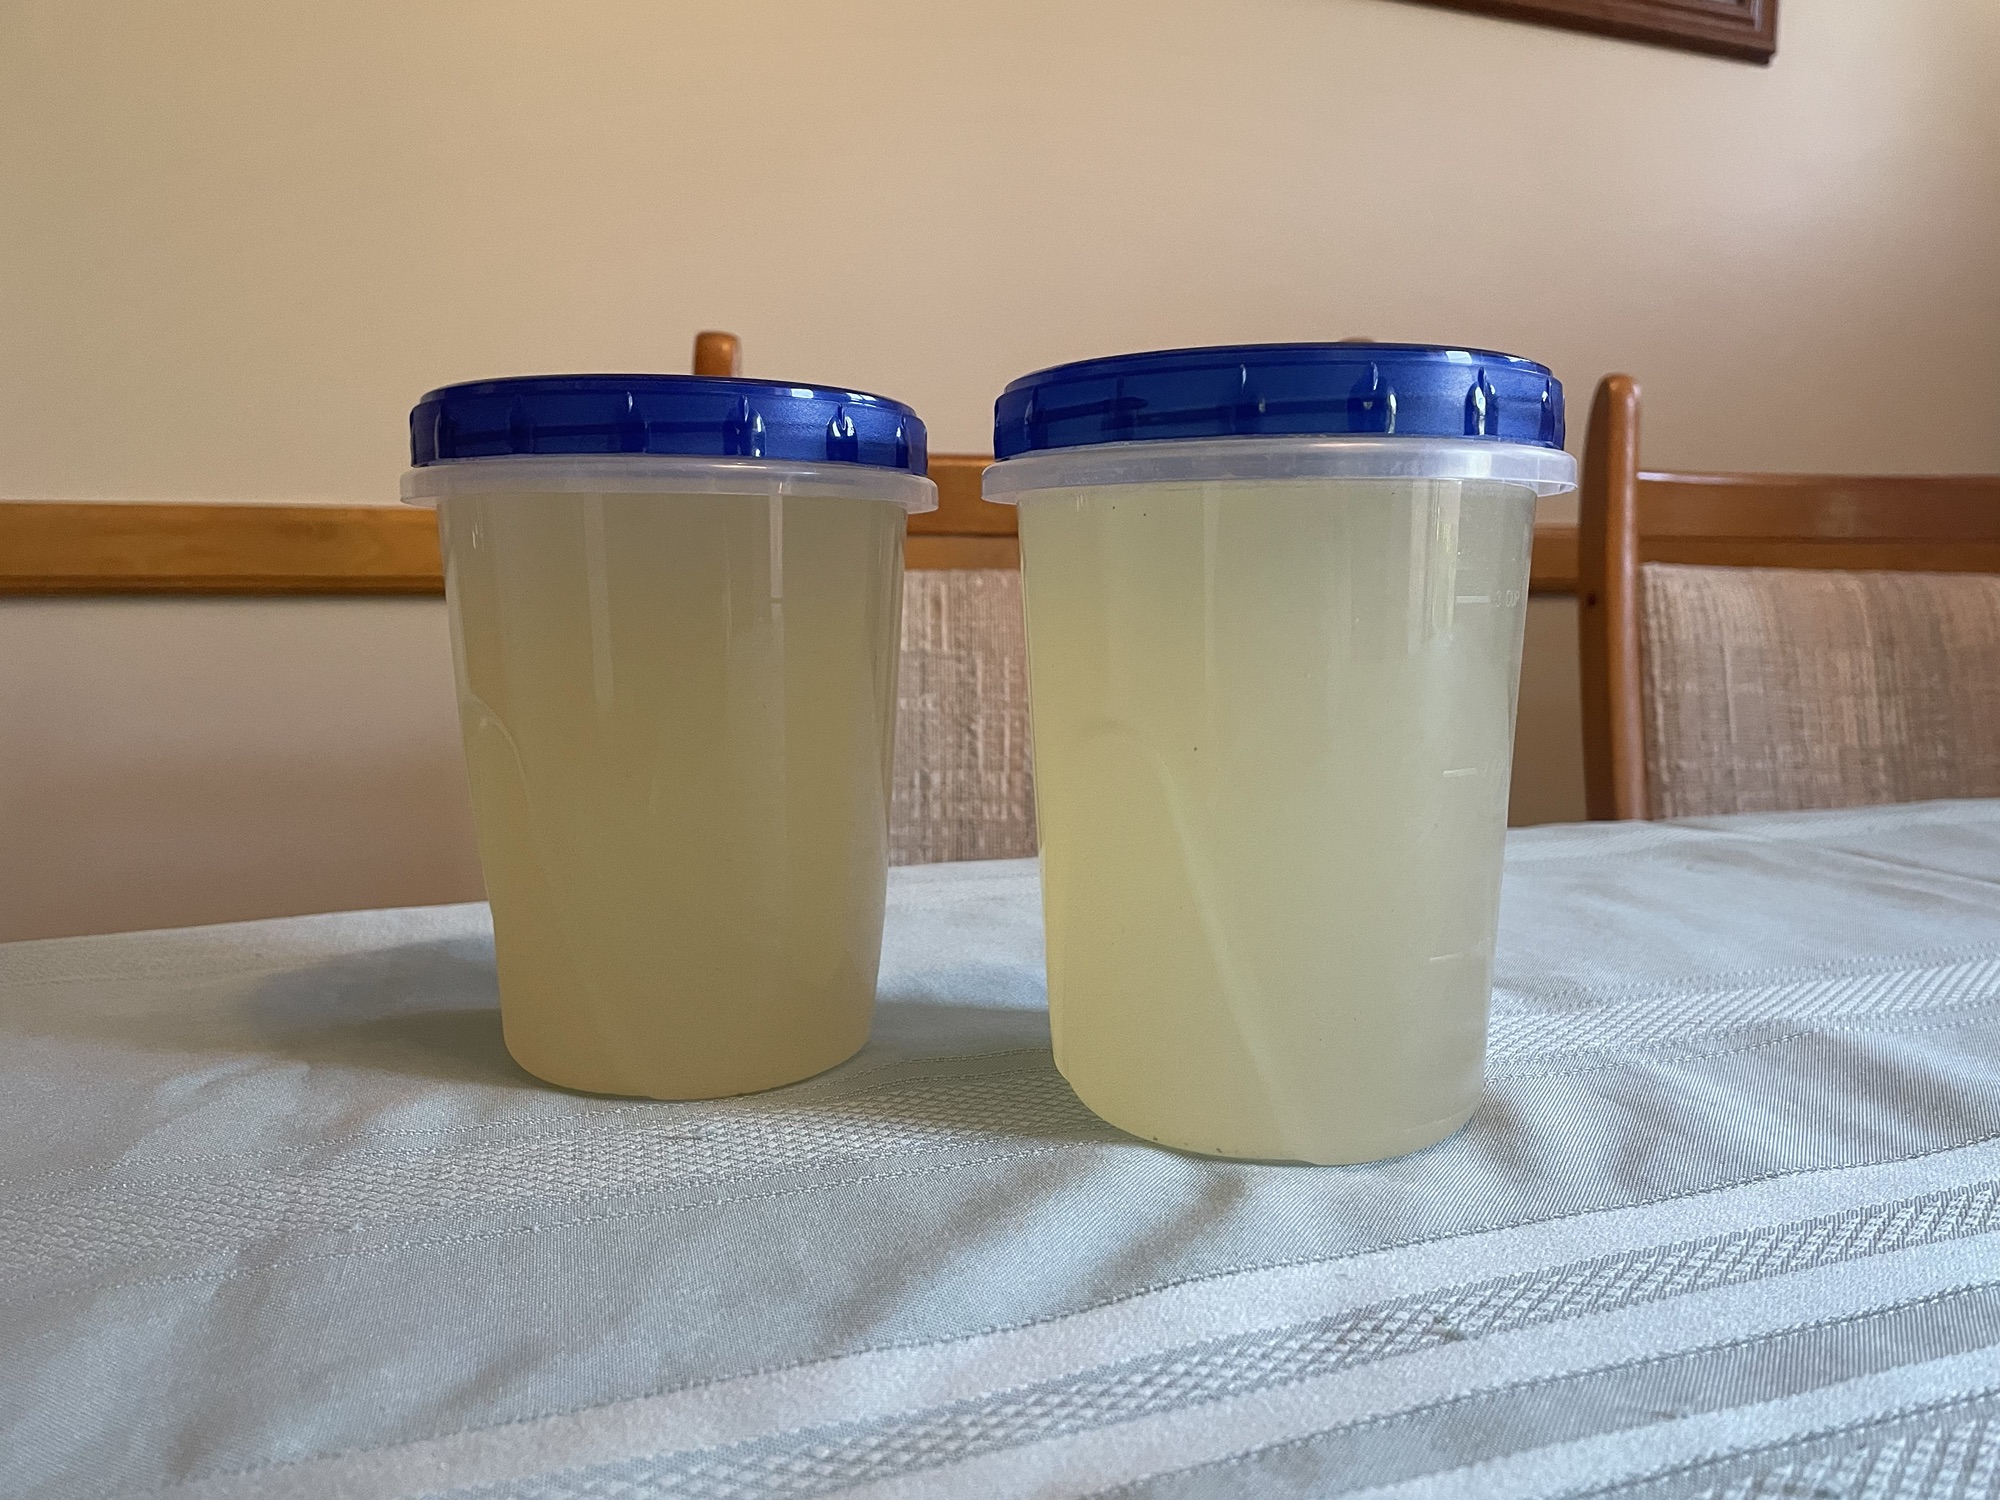
Depending on what size pot you used, you may have extra broth left. This is a good and wonderful bonus. I always freeze it and make chicken noodle soup later.
Risotto is definitely simpler than I thought it’d be. Honestly, trying to understand Nonna’s instructions in Italian was the hardest part. But we did it. If you make this recipe, let me know!
And if you’re looking to bring more of this 92-year-old lady’s cooking into your house, check out her homemade gnocchi recipe I posted a few months ago. It’s even easier to make!

That’s all for now!
Follow me: Twitter / Facebook / Instagram / Bloglovin’